By
By 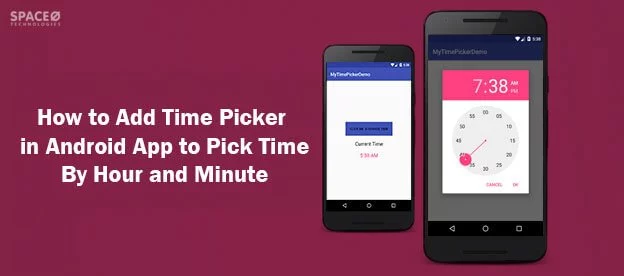
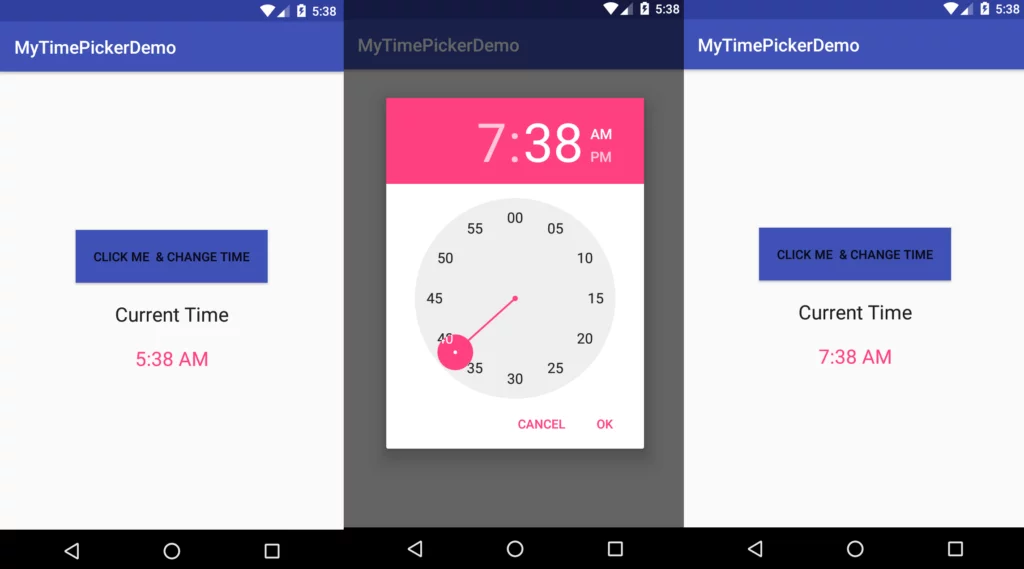
Time Picker in Android is a widget that lets users to select the time of the day in either AM/PM or 24 hours mode.
The displayed time in the widget consists of hours, minutes, and the clock format. And, in order to show add this widget in your mobile app, you’ll have to use a TimePickerDialog class.
In today’s Android app tutorial, we’ll see how to add time picker in Android app to allow users pick time by hour, minute, and clock format.
Let’s Get Started
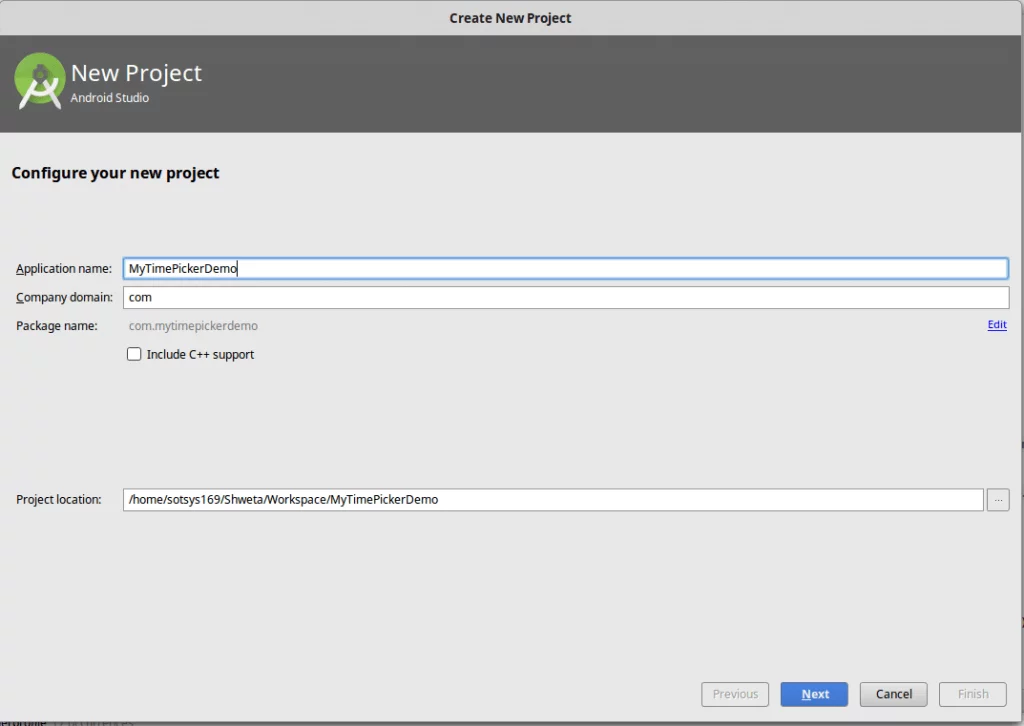
![]() Create a new project “Android Time Picker”.
Create a new project “Android Time Picker”.
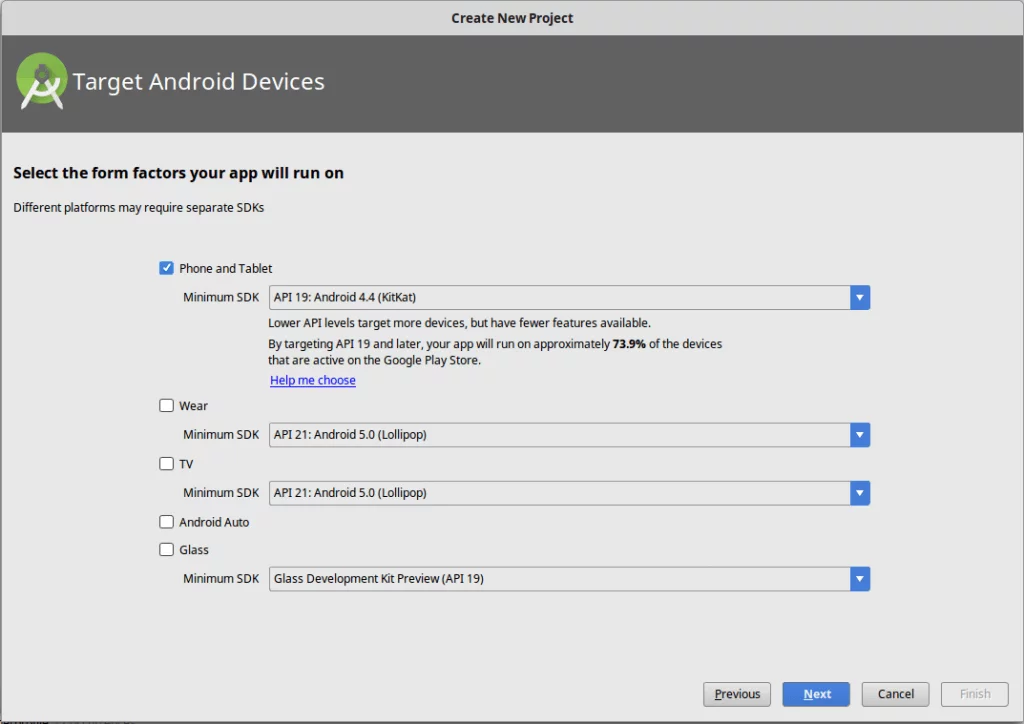
![]() Select targeted Android device.
Select targeted Android device.
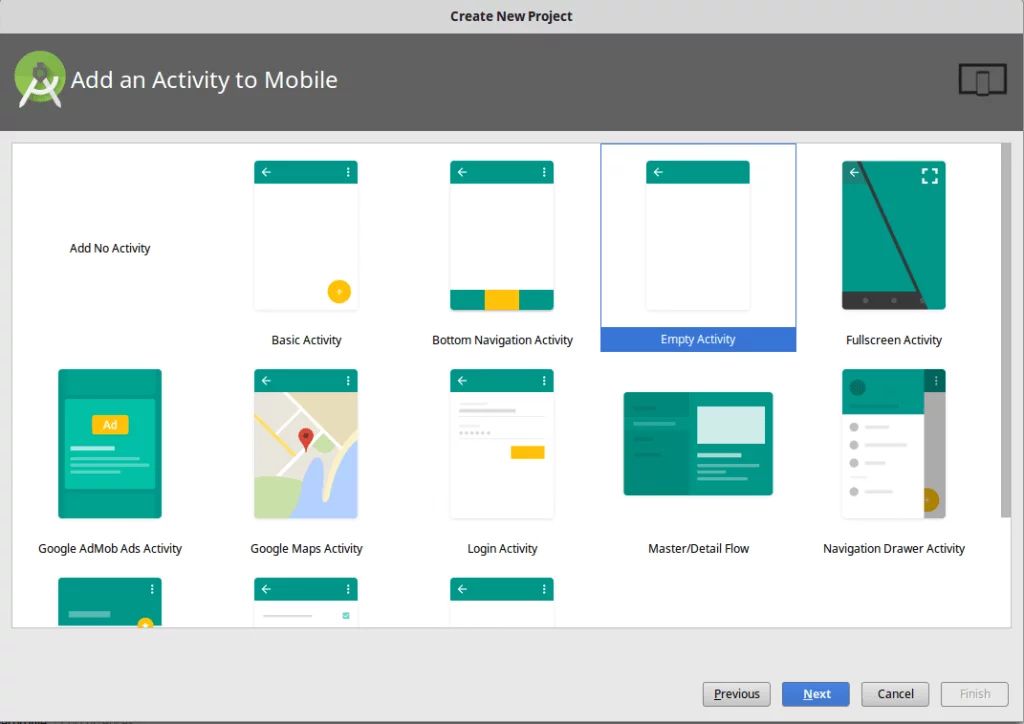
![]() Add an activity in mobile => Select Empty Activity.
Add an activity in mobile => Select Empty Activity.
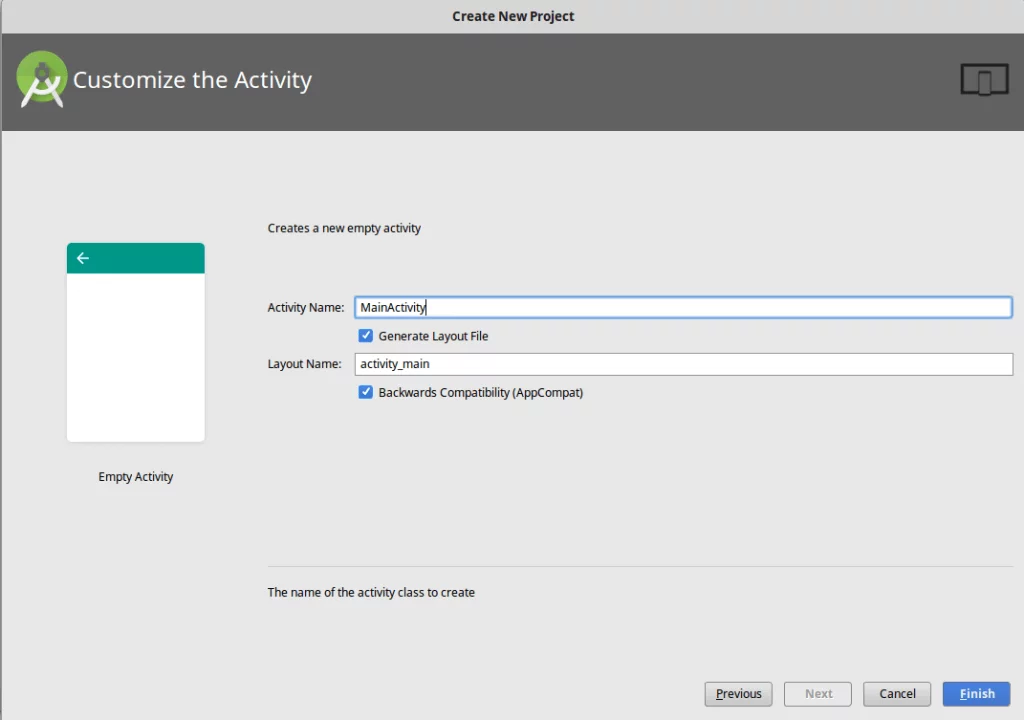
![]() Lastly, customize the activity.
Lastly, customize the activity.
![]() Now, create java class name “MainActivity”
Now, create java class name “MainActivity”
public class MainActivity extends AppCompatActivity {
    static final int TIME_DIALOG_ID = 1111;
    private TextView view;
    public Button btnClick;
    private int hr;
    private int min;

    @Override
    public void onCreate(Bundle savedInstanceState) {
        super.onCreate(savedInstanceState);
        setContentView(R.layout.activity_main);
        view = (TextView) findViewById(R.id.output);
        final Calendar c = Calendar.getInstance();
        hr = c.get(Calendar.HOUR_OF_DAY);
        min = c.get(Calendar.MINUTE);
        updateTime(hr, min);
        addButtonClickListener();
    }

    public void addButtonClickListener() {
        btnClick = (Button) findViewById(R.id.btnClick);
        btnClick.setOnClickListener(new OnClickListener() {
            @Override
            public void onClick(View v) {
                createdDialog(0).show();
            }
        });
    }

    protected Dialog createdDialog(int id) {
        switch (id) {
            case TIME_DIALOG_ID:
                return new TimePickerDialog(this, timePickerListener, hr, min, false);
        }
        return null;
    }

    private TimePickerDialog.OnTimeSetListener timePickerListener = new TimePickerDialog.OnTimeSetListener() {
        @Override
        public void onTimeSet(TimePicker view, int hourOfDay, int minutes) {
            hr = hourOfDay;
            min = minutes;
            updateTime(hr, min);
        }
    };

    private static String utilTime(int value) {
        if (value < 10) return "0" + String.valueOf(value);
        else return String.valueOf(value);
    }

    private void updateTime(int hours, int mins) {
        String timeSet = "";
        if (hours > 12) {
            hours -= 12;
            timeSet = "PM";
        } else if (hours == 0) {
            hours += 12;
            timeSet = "AM";
        } else if (hours == 12)
            timeSet = "PM";
        else
            timeSet = "AM";

        String minutes = "";
        if (mins < 10)
            minutes = "0" + mins;
        else
            minutes = String.valueOf(mins);

        String aTime = new StringBuilder()
            .append(hours)
            .append(':')
            .append(minutes)
            .append(" ")
            .append(timeSet)
            .toString();
        view.setText(aTime);
    }
}
Want To Develop An Android Application?
Need to validate your app idea or consult with an expert? Get a free consultation now!

 activity_main.xml
<?xml version="1.0" encoding="utf-8"?>
<LinearLayout xmlns:android="http://schemas.android.com/apk/res/android"
    android:layout_width="fill_parent"
    android:layout_height="fill_parent"
    android:gravity="center"
    android:orientation="vertical">

    <Button
        android:id="@+id/btnClick"
        android:layout_width="wrap_content"
        android:layout_height="wrap_content"
        android:padding="20dp"
        android:background="@color/colorPrimary"
        android:text="Click Me & Change Time" />

    <TextView
        android:id="@+id/lblTime"
        android:layout_width="wrap_content"
        android:layout_height="wrap_content"
        android:layout_marginTop="20dp"
        android:layout_marginBottom="20dp"
        android:text="Current Time"
        android:textAppearance="?android:attr/textAppearanceLarge" />

    <TextView
        android:id="@+id/output"
        android:layout_width="wrap_content"
        android:layout_height="wrap_content"
        android:text=""
        android:textColor="@color/colorAccent"
        android:textAppearance="?android:attr/textAppearanceLarge" />

</LinearLayout>
And Done!
Once you successfully implement this code, you can easily add Android tabs in your application. Although, if an app is complex, then TimePickerDialog integration becomes bit difficult so if you’re not completely aware with it, you can consult with Android application development agency to add custom Time picker in Android app correctly.
Get a free copy of TimePicker in Android Example from Github.