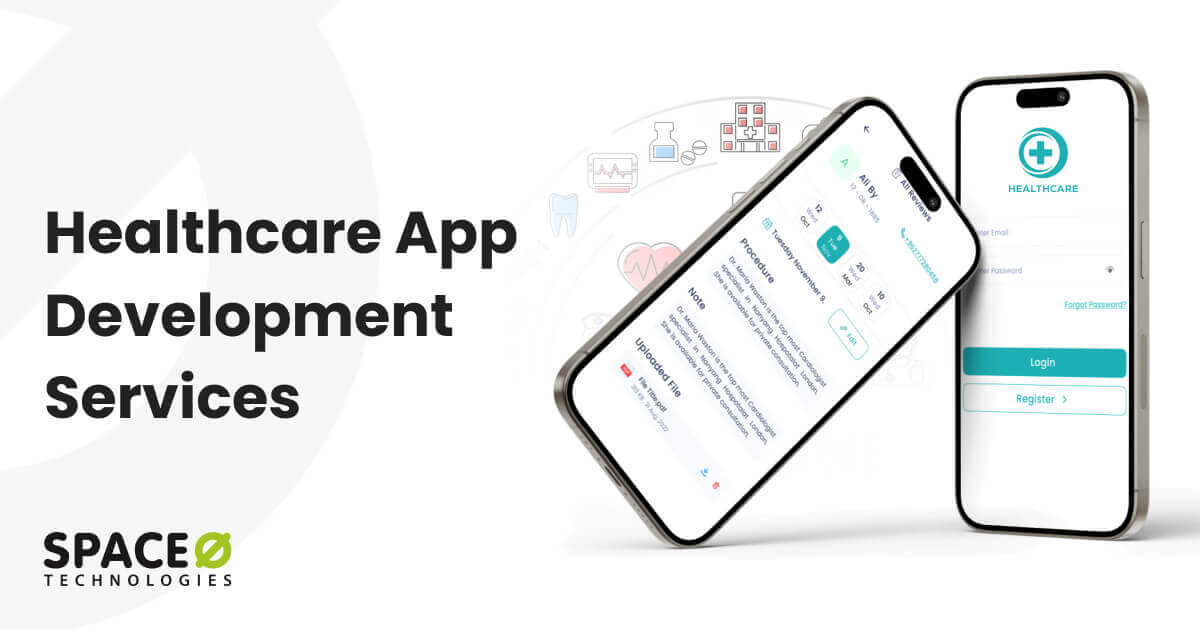
Healthcare App Development Company
Looking for a cloud-based healthcare solution? Like EHR, EMR, telemedicine, medical billing, and management for your healthcare company? Want to validate your app idea and discuss business requirements? Book your free consultation with our experienced healthcare developers now.


Let’s Discuss Your Project
Mobile Healthcare Solutions We Develop

Patient-centered Apps
Facing challenge to offer healthcare services to your patients 24*7? Looking for a custom mobile or web app solution for the patients with advanced features, such as one-click appointment booking, video calling, and POS system? We build custom mHealth apps according to your requirements.

Apps for Healthcare Providers
Want to build a platform for doctors to monitor their patient’s health? Medical apps help to diagnose various conditions and offer test results faster. Contact us to develop feature-rich and custom apps for healthcare professionals with our experience in healthcare app development.

Cloud-based Telemedicine Software
Need a cloud-based telemedicine system to track the medical records from anywhere, anytime, without compromising performance & security? We are experienced in developing telemedicine apps and software with innovative digital health strategies and technologies like AI and IoT.

Medical Billing Software
The medical billing process is a burden for your practice? Want to streamline the process, from administrative tasks to managing insurance claims? Looking to fasten up the medical billing process? Leverage our experience in developing medical billing software custom to your needs.

EHR & EMR
Want to improve the quality of patient care with a reduction in medication errors and health check-ups? Want to streamline the process for primary care providers, patients, and technicians involved in the process? We develop EHR & EMR solution that perfectly fits your operations.
Medical App & Software
Looking to offer remote access to healthcare delivery services & improve the overall efficiency? Space-O is one of the leading mobile medical software development companies in the USA to offer the best development services. So far, we have developed 30+ custom healthcare apps.
Want to Build a Custom Healthcare Management Software Solution?
Talk to us. Share your idea with us and get it validated by our experienced healthcare developers. Let’s build your app together.
Clients Love Space-O Technologies
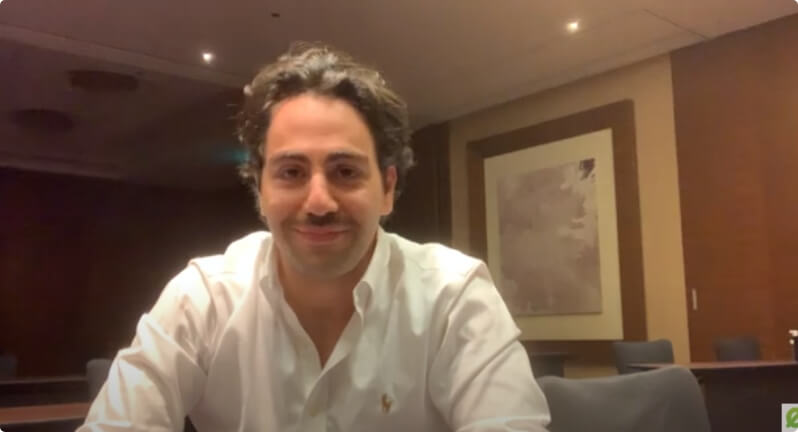
Space-O Technologies empowered us with a competent team to develop a product for healthcare services. Their delivery of results within budget and time is impressive. We’re fully satisfied with the quality of their services, development skills, and communication management. Space-O Technologies is a reliable IT partner that we wholeheartedly recommend.
Joshua Murphy
![]()
CEO, EMR Healthcare Startup

Top Healthcare Mobile App Development Company
Want to reach the maximum number of people and offer immediate access to healthcare? Want accurate electronic health records and reduction in the wrong diagnosis? Looking for a solution to fasten and ease the medical billing procedures? Contact us.
Space-O is a leading medical app development company that develops apps for healthcare professionals and the healthcare industry. We have a team of 10+ experienced healthcare app developers who are also well-versed in using the latest technologies, such as IoT, AR/VR, and AI.
So far, we have developed 30+ custom health and fitness solutions for various clients, ranging from leading startups to enterprises. With our full-stack healthcare app development services, streamline your healthcare business and gain a competitive edge.
Let’s Discuss Your Healthcare Project
Our Mobile Healthcare Apps Portfolio
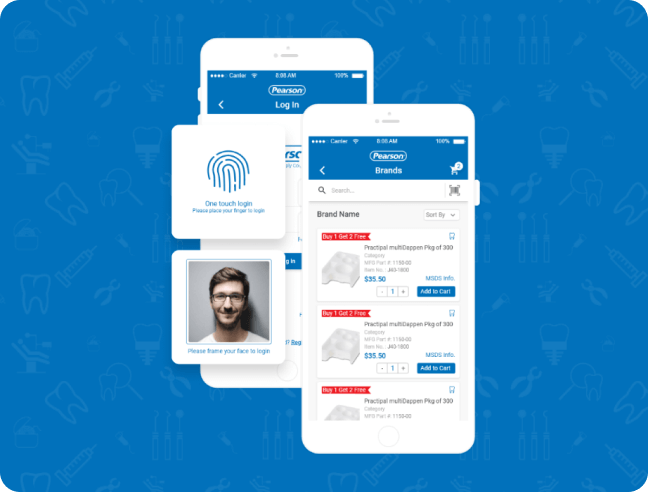
We developed an eCommerce app for Pearson Dental Supplies Inc., one of the top companies dealing with the supply of dental products and equipment in the USA. It is an easy-to-use app used by customers to buy dental healthcare products and equipment for their business. We created an app version of the already existing company website but with advanced features.
Some features of this mHealth eCommerce platform:
- Barcode Reader: Instead of typing the name, the users can also scan a barcode to get information about the product and buy it online.
- Secure Login Options: Users can choose from 3 different ways to login viz. Email and password login, TouchID login, and FaceID login.
- Quick Order: If the user needs to buy any product at frequent intervals, he can just do so by entering the product code and quantity.
- Brands and Offers: Users can also search for a product based on the brand or applicable offers on it.
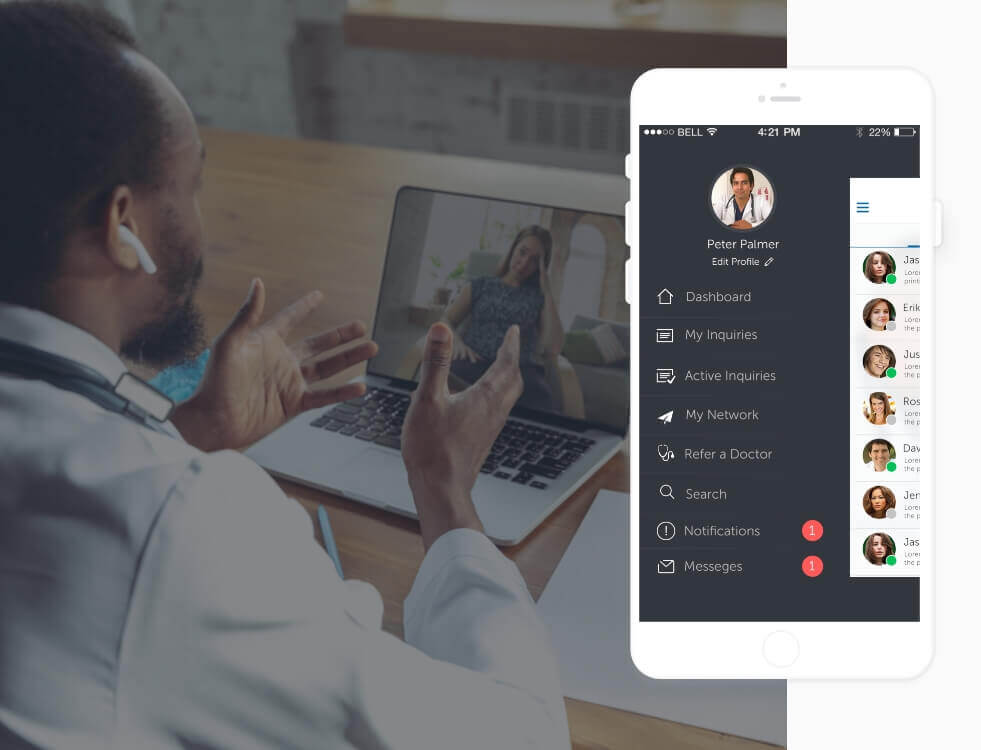
Conduet-Med is like an e-visit app to make doctor appointments. It is a platform for doctors and healthcare providers to meet with patients anytime, anywhere. Using this app, a patient can basically contact the doctor of his/her own choice, tell them the symptoms, get the synopsis and the prescription so that the treatment can be discussed in time.
Some features of this mHeath e-visit app are:
- Touch ID: This biometric authentication option is an extra level of security for Apple devices.
- Video Consultation: Patients and doctors get interactive video consulting right in the comfort of their homes.
- Push Notifications: These notifications send alerts to the physicians in case of new messages.
- Refer a Doctor: If a doctor is not available or unable to provide a complete diagnosis, he can refer another specialist to the patient.
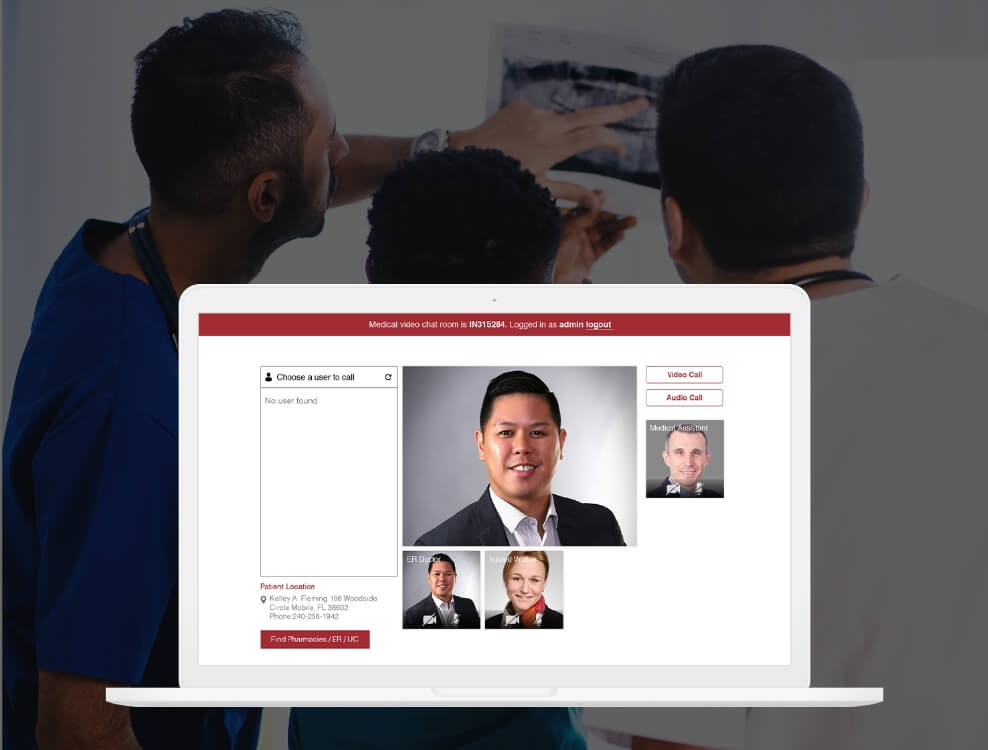
MedcallWorkComp is an on-demand doctor booking app solution with patients’ and doctors’ apps and a web portal. In addition, it offers patients direct access to emergency physicians who provide tele-triage for medical events. Patients just need to contact doctors for consulting health-related queries through a video call.
Some features of this MedcallWorkComp:
- Find Nearest Doctors: Patients can call a medical operator and describe their health issues. Then they will connect you with an available doctor.
- Video Calling: Patients can make a video call to doctors directly from the application and discuss their health issues.
- Upload Pictures: Patients have an option to send or upload photos to show their injuries directly from the gallery or using the camera.