By
By 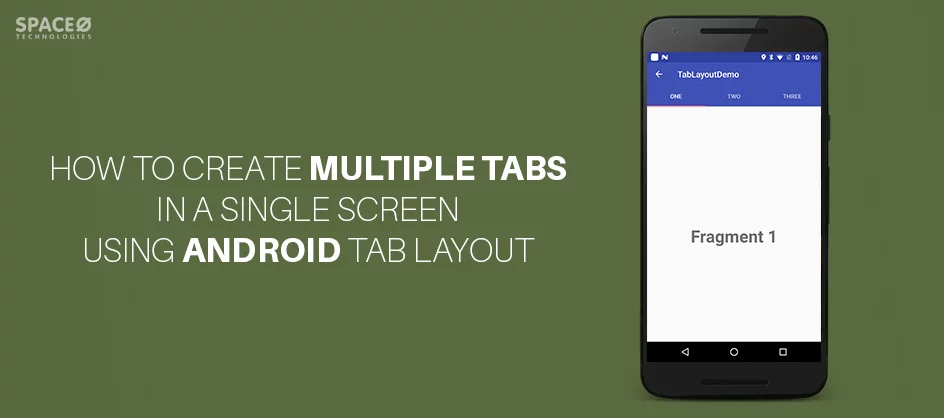
Being an Android app development company, we encourage our best Android app developers to write and share their knowledge with our audience by writing an Android tutorial. This article is one of them. This article is all about how to create multiple tabs in a single screen using Android Tab Layout.
While using tablayout In Android, there is a new element introduced in Design Support Library. Basically, it provides horizontal layouts to display Android tabs on the screen. Using Android tablayout, we can display more than one screen in a single screen.
What is Android Tab Layout?
Tab view in android or tab layout is basically a view class required to be added into the layout of our app to create sliding tabs.
However, you can create sliding as well as non-sliding tabbed activity by using the Android tablayout. If you want to add Android tabs without sliding, then replace the layout with the fragment on tab selected listener event. And, if you want to add sliding tabs, then use ViewPager.
In this Android tablayout example, we’ll see how to create tabs in android studio with sliding using ViewPager.
Let’s Get Started
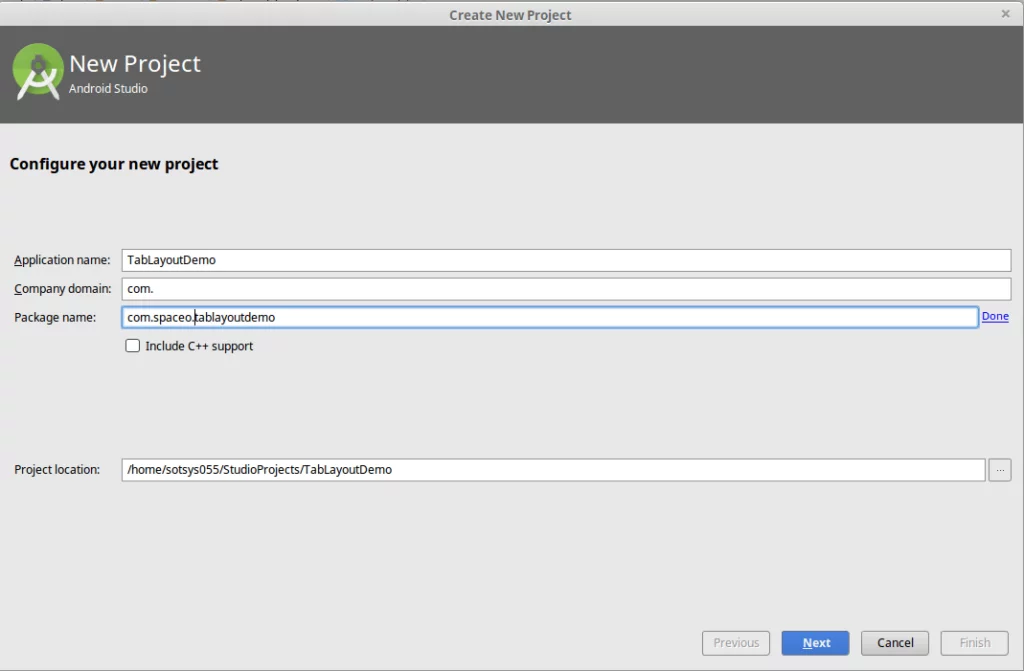
![]() Create a new project “Android TabLayout” or “Android Tabs Layout“.
Create a new project “Android TabLayout” or “Android Tabs Layout“.
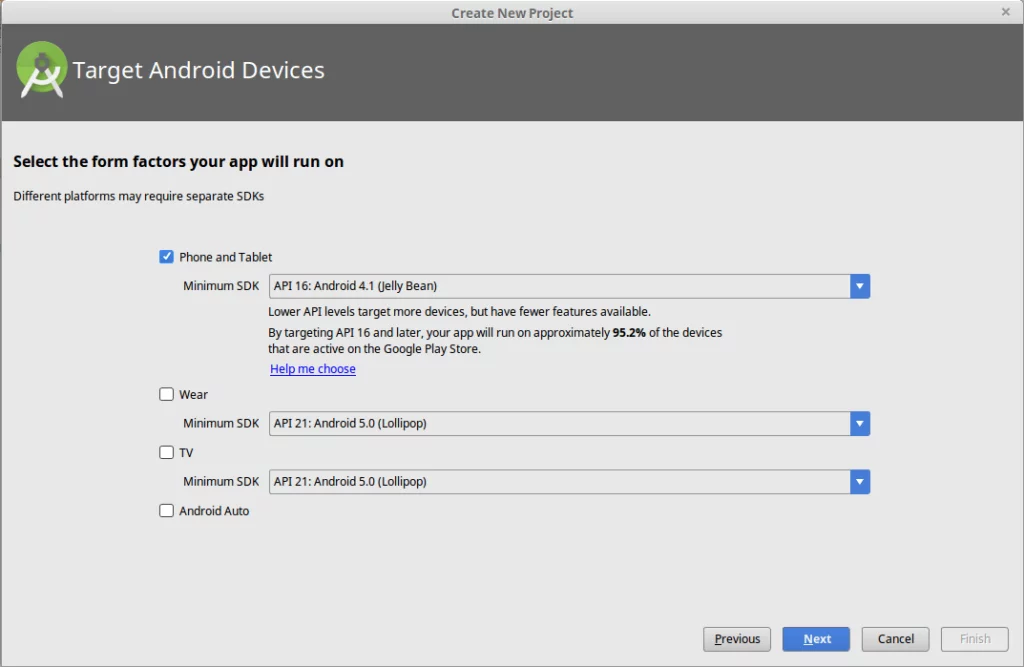
![]() Select targeted Android device.
Select targeted Android device.
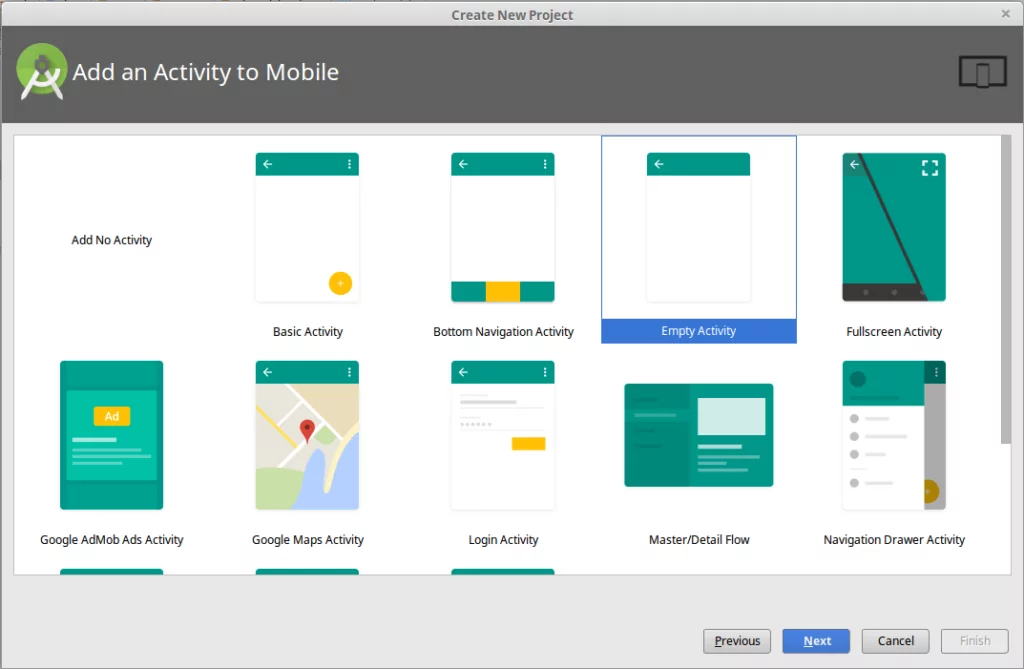
![]() Add an activity to mobile => Select Empty Activity.
Add an activity to mobile => Select Empty Activity.
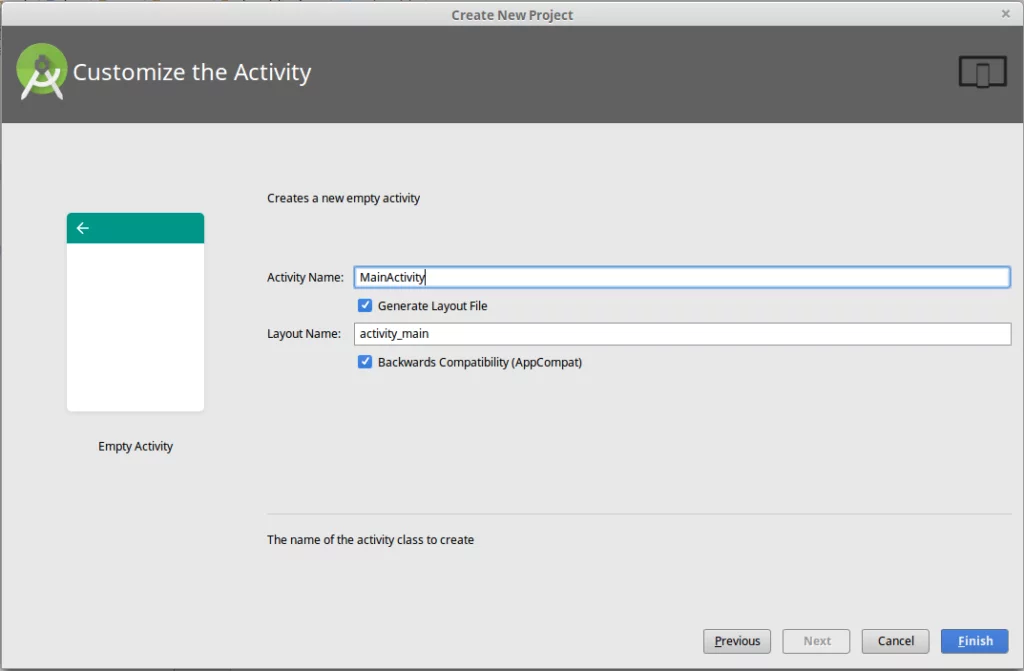
![]() Customize the activity.
Customize the activity.
![]() Create Java class name “ViewPagerAdapter”
Create Java class name “ViewPagerAdapter”
package com.spaceo.tablayoutdemo;

import android.support.v4.app.Fragment;
import android.support.v4.app.FragmentManager;
import android.support.v4.app.FragmentPagerAdapter;

class ViewPagerAdapter extends FragmentPagerAdapter {

    private String title[] = {"One", "Two", "Three"};

    public ViewPagerAdapter(FragmentManager manager) {
        super(manager);
    }

    @Override
    public Fragment getItem(int position) {
        return TabFragment.getInstance(position);
    }

    @Override
    public int getCount() {
        return title.length;
    }

    @Override
    public CharSequence getPageTitle(int position) {
        return title[position];
    }
}
TabFragment.java
package com.spaceo.tablayoutdemo;

import android.os.Bundle;
import android.support.annotation.Nullable;
import android.support.v4.app.Fragment;
import android.view.LayoutInflater;
import android.view.View;
import android.view.ViewGroup;
import android.widget.TextView;

public class TabFragment extends Fragment {

    int position;
    private TextView textView;

    public static Fragment getInstance(int position) {
        Bundle bundle = new Bundle();
        bundle.putInt("pos", position);
        TabFragment tabFragment = new TabFragment();
        tabFragment.setArguments(bundle);
        return tabFragment;
    }

    @Override
    public void onCreate(Bundle savedInstanceState) {
        super.onCreate(savedInstanceState);
        position = getArguments().getInt("pos");
    }

    @Override
    public View onCreateView(LayoutInflater inflater, ViewGroup container,
                                Bundle savedInstanceState) {
        return inflater.inflate(R.layout.fragment_tab, container, false);
    }

    @Override
    public void onViewCreated(View view, @Nullable Bundle savedInstanceState) {
        super.onViewCreated(view, savedInstanceState);
        textView = (TextView) view.findViewById(R.id.textView);

        textView.setText("Fragment " + (position + 1));

    }
}
MainActivity
package com.spaceo.tablayoutdemo;

import android.os.Bundle;
import android.support.design.widget.TabLayout;
import android.support.v4.view.ViewPager;
import android.support.v7.app.AppCompatActivity;
import android.support.v7.widget.Toolbar;

public class MainActivity extends AppCompatActivity {

    private Toolbar toolbar;
    private TabLayout tabLayout;
    private ViewPager viewPager;

    @Override
    protected void onCreate(Bundle savedInstanceState) {
        super.onCreate(savedInstanceState);
        setContentView(R.layout.activity_main);

        toolbar = (Toolbar) findViewById(R.id.toolbar);
        setSupportActionBar(toolbar);

        getSupportActionBar().setDisplayHomeAsUpEnabled(true);

        viewPager = (ViewPager) findViewById(R.id.viewpager);
        ViewPagerAdapter adapter = new ViewPagerAdapter(getSupportFragmentManager());
        viewPager.setAdapter(adapter);

        tabLayout = (TabLayout) findViewById(R.id.tabs);
        tabLayout.setupWithViewPager(viewPager);
    }
}
AndroidManifest.xml
<?xml version="1.0" encoding="utf-8"?>
<manifest xmlns:android="http://schemas.android.com/apk/res/android"
    package="com.spaceo.tablayoutdemo">

    <application
        android:allowBackup="true"
        android:icon="@mipmap/ic_launcher"
        android:label="@string/app_name"
        android:roundIcon="@mipmap/ic_launcher_round"
        android:supportsRtl="true"
        android:theme="@style/AppTheme">
        <activity android:name=".MainActivity">
            <intent-filter>
                <action android:name="android.intent.action.MAIN"/>
                <category android:name="android.intent.category.LAUNCHER"/>
            </intent-filter>
        </activity>
    </application>

</manifest>
Want To Create An Android Application?
Looking to Create An Android app? Get in touch with our experienced Android app developers for a free consultation.

build.gradle
apply plugin: 'com.android.application'

android {
    compileSdkVersion 25
    buildToolsVersion "25.0.2"
    defaultConfig {
        applicationId "com.spaceo.tablayoutdemo"
        minSdkVersion 16
        targetSdkVersion 25
        versionCode 1
        versionName "1.0"
    }
    buildTypes {
        release {
            minifyEnabled false
            proguardFiles getDefaultProguardFile('proguard-android.txt'), 'proguard-rules.pro'
    }
    }
}

dependencies {
    compile fileTree(dir: 'libs', include: ['*.jar'])
    compile 'com.android.support:appcompat-v7:25.2.0'
    compile 'com.android.support:design:25.2.0'
}
activity_main.xml
<?xml version="1.0" encoding="utf-8"?>
<android.support.design.widget.CoordinatorLayout
    xmlns:android="http://schemas.android.com/apk/res/android"
    xmlns:app="http://schemas.android.com/apk/res-auto"
    android:layout_width="match_parent"
    android:layout_height="match_parent">

    <android.support.design.widget.AppBarLayout
        android:layout_width="match_parent"
        android:layout_height="wrap_content"
        android:theme="@style/ThemeOverlay.AppCompat.Dark.ActionBar">

        <android.support.v7.widget.Toolbar
            android:id="@+id/toolbar"
            android:layout_width="match_parent"
            android:layout_height="?attr/actionBarSize"
            android:background="?attr/colorPrimary"
            app:layout_scrollFlags="scroll|enterAlways"
            app:popupTheme="@style/ThemeOverlay.AppCompat.Light"/>

        <android.support.design.widget.TabLayout
            android:id="@+id/tabs"
            android:layout_width="match_parent"
            android:layout_height="wrap_content"
            app:tabGravity="fill"
            app:tabMode="fixed"/>
    </android.support.design.widget.AppBarLayout>>

    <android.support.v4.view.ViewPager
        android:id="@+id/viewpager"
        android:layout_width="match_parent"
        android:layout_height="match_parent"
        app:layout_behavior="@string/appbar_scrolling_view_behavior"/>
</android.support.design.widget.CoordinatorLayout>
fragment_tab.xml
<?xml version="1.0" encoding="utf-8"?>
<LinearLayout xmlns:android="http://schemas.android.com/apk/res/android"
    android:layout_width="match_parent"
    android:layout_height="match_parent"
    android:orientation="vertical">

    <TextView
        android:id="@+id/textView"
        android:layout_width="match_parent"
        android:layout_height="match_parent"
        android:gravity="center"
        android:padding="10dp"
        android:textSize="40sp"
        android:textStyle="bold"/>
</LinearLayout>
And done!
If you think this android tablayout tutorial will help your friends as well, share it now with just one click!
[bctt tweet=”I found this easiest tutorial to develop multiple tabs in a single screen using Android Tab Layout. Check this now.”]
Once you successfully implement this code, you can easily add Android tabs and perform tab activity in android or we can say Android tab navigation.
Although, if an app is complex with a large number of contents added dynamically, then tab layout integration becomes a bit difficult so if you’re not completely aware with it, you can consult with Android app development company to add Android tabbed activityand also can take a look at the Android viewpager in your Android app work correctly.
Get a free copy of Tab Layout in Android Demo from Github.