By
By 
In any industry, trends always emerge from the present context. While some stick for years, while some disappear within a month or two. But, with mobile app design, trends are usually accompanied by the release of every new OS. Similarly, with the Android Overlay function, Android app designers are constantly designing user-friendly and creative app designs.
Therefore, today, in this step by step Android overlay app tutorial, we will be covering the implementation process of the Android overlay function by creating a transparent demo screen to build an Android app more user-friendly. So, let’s get started with this Android overlay tutorial.
Steps to Create Transparent Demo Screen in App
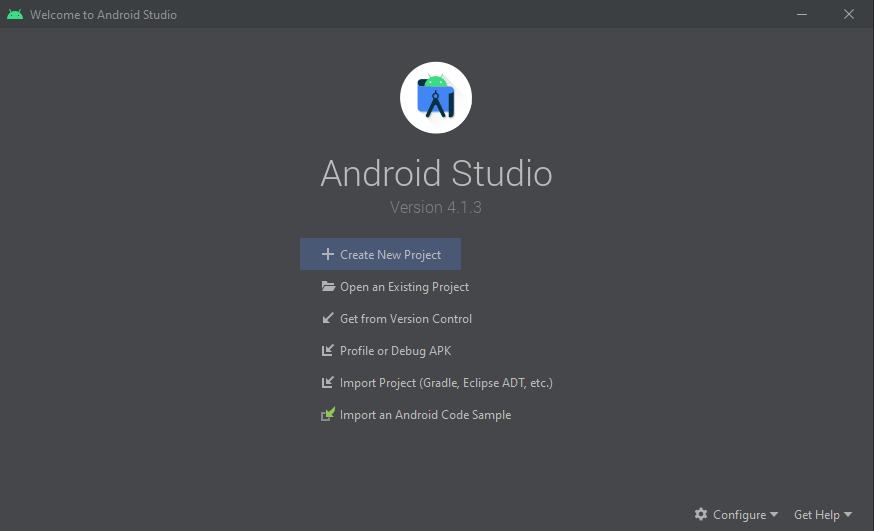
![]() First, open Android Studio, and create a new project under the file menu.
First, open Android Studio, and create a new project under the file menu.
![]() Now, select your target device and click on next.
Now, select your target device and click on next.

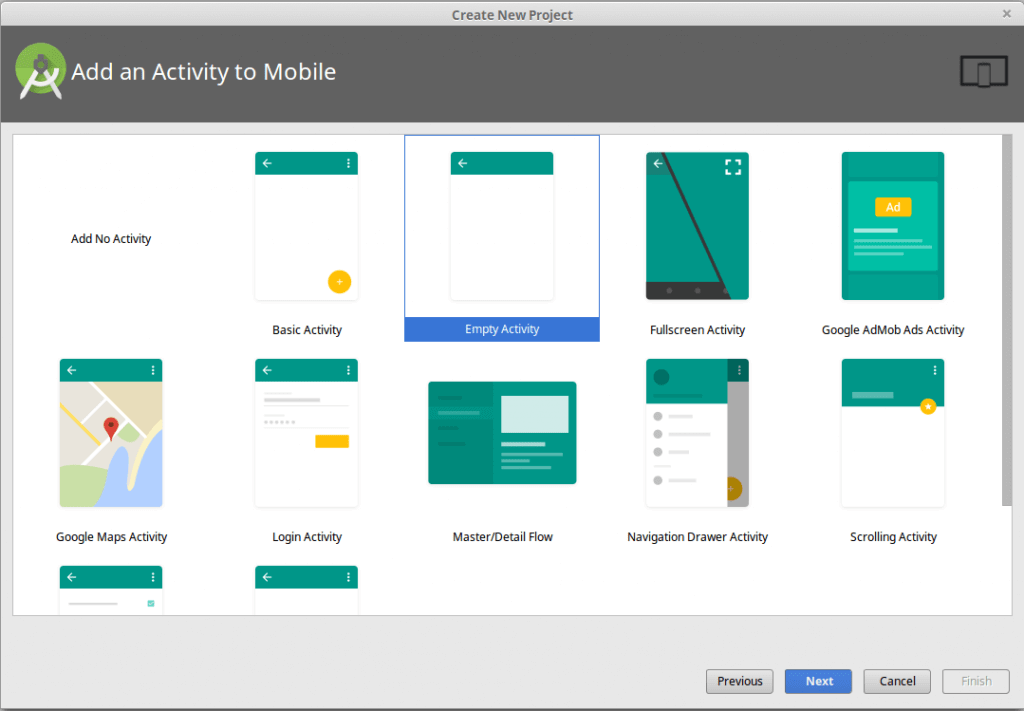
![]() In the next tab, select Empty Activity.
In the next tab, select Empty Activity.
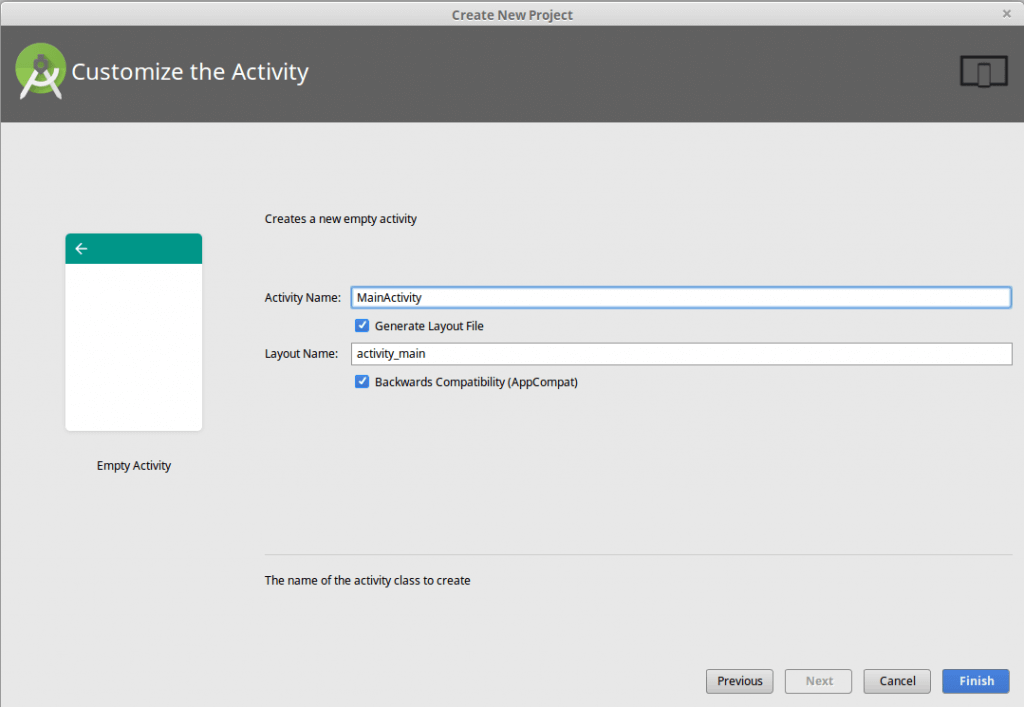
![]() Lastly, customize the activity.
Lastly, customize the activity.
Start Code Integration
![]() Activity_main.xml
Activity_main.xml
<?xml version="1.0" encoding="utf-8"?>
<LinearLayout xmlns:android="http://schemas.android.com/apk/res/android"
    xmlns:app="http://schemas.android.com/apk/res-auto"
    xmlns:tools="http://schemas.android.com/tools"
    android:id="@+id/activity_main"
    android:layout_width="match_parent"
    android:layout_height="match_parent"
    android:background="@android:color/white"
    android:orientation="vertical"
    tools:context="com.showhintdemo.MainActivity">
    <FrameLayout
        android:layout_width="match_parent"
        android:layout_height="match_parent">
        <LinearLayout
            android:layout_width="match_parent"
            android:layout_height="match_parent"
            android:orientation="vertical">
            <!-- Toolbar instead of ActionBar so the drawer_menu can slide on top -->
            <android.support.v7.widget.Toolbar
                android:id="@+id/toolbar"
                android:layout_width="match_parent"
                android:layout_height="wrap_content"
                android:background="@android:color/black"
                android:theme="@style/ThemeOverlay.AppCompat.Dark.ActionBar"
                app:contentInsetStart="0dp">
                <LinearLayout
                    android:layout_width="match_parent"
                    android:layout_height="match_parent"
                    android:minHeight="?attr/actionBarSize">
                    <ImageView
                        android:id="@+id/imgSettings"
                        android:layout_width="wrap_content"
                        android:layout_height="match_parent"
                        android:padding="8dp"
                        android:src="@drawable/settings" />
                    <TextView
                        android:layout_width="wrap_content"
                        android:layout_height="match_parent"
                        android:layout_weight="1"
                        android:gravity="center"
                        android:singleLine="true"
                        android:text="HOME"
                        android:textAppearance="?android:attr/textAppearanceMedium"
                        android:textColor="@android:color/white"
                        android:textStyle="bold" />
                    <ImageView
                        android:id="@+id/imgMenu"
                        android:layout_width="wrap_content"
                        android:layout_height="match_parent"
                        android:layout_gravity="right"
                        android:padding="8dp"
                        android:src="@drawable/menu" />
                </LinearLayout>
            </android.support.v7.widget.Toolbar>
            <TextView
                android:id="@+id/textMessage"
                android:layout_width="match_parent"
                android:layout_height="match_parent"
                android:gravity="center"
                android:text="Welcome to overlay demo"
                android:textColor="@android:color/black"
                android:textSize="22sp"
                android:visibility="gone" />
        </LinearLayout>
        <RelativeLayout
            android:id="@+id/rlOverlay"
            android:layout_width="match_parent"
            android:layout_height="match_parent"
            android:background="@drawable/img_transparent_bg">
            <LinearLayout
                android:id="@+id/llSettings"
                android:layout_width="wrap_content"
                android:layout_height="wrap_content">
                <ImageView
                    android:layout_width="wrap_content"
                    android:layout_height="wrap_content"
                    android:paddingLeft="@dimen/activity_horizontal_margin"
                    android:paddingTop="@dimen/activity_horizontal_margin"
                    android:src="@drawable/img_settings_indicator" />
                <TextView
                    android:layout_width="wrap_content"
                    android:layout_height="wrap_content"
                    android:layout_gravity="bottom"
                    android:text="Go to Settings"
                    android:textColor="@android:color/white"
                    android:textSize="22sp" />
            </LinearLayout>
            <LinearLayout
                android:id="@+id/llMenu"
                android:layout_width="wrap_content"
                android:layout_height="wrap_content"
                android:layout_alignParentRight="true"
                android:visibility="gone">
                <TextView
                    android:layout_width="wrap_content"
                    android:layout_height="wrap_content"
                    android:layout_gravity="bottom"
                    android:text="Open menu from here"
                    android:textColor="@android:color/white"
                    android:textSize="22sp" />
                <ImageView
                    android:layout_width="wrap_content"
                    android:layout_height="wrap_content"
                    android:paddingRight="@dimen/activity_horizontal_margin"
                    android:paddingTop="@dimen/activity_horizontal_margin"
                    android:src="@drawable/img_menu_indicator" />
            </LinearLayout>
            <TextView
                android:id="@+id/textHelp"
                android:layout_width="wrap_content"
                android:layout_height="wrap_content"
                android:layout_alignParentBottom="true"
                android:layout_alignParentRight="true"
                android:layout_marginBottom="16dp"
                android:layout_marginRight="16dp"
                android:text="Next"
                android:textColor="@android:color/white"
                android:textSize="22sp" />
</RelativeLayout>
</FrameLayout>
</LinearLayout>
Want To Create An Android Application?
Looking to Create An Android app? Get in touch with our experienced Android app developers for a free consultation.

![]() MainActivity.java
MainActivity.java
package com.showhintdemo;

import android.support.v7.app.AppCompatActivity;
import android.os.Bundle;
import android.view.View;
import android.widget.ImageView;
import android.widget.LinearLayout;
import android.widget.RelativeLayout;
import android.widget.TextView;
import android.widget.Toast;

public class MainActivity extends AppCompatActivity implements View.OnClickListener {

    private TextView textMessage;
    private TextView textHelp;
    private ImageView imgSettings;
    private ImageView imgMenu;
    private RelativeLayout rlOverlay;
    private LinearLayout llSettings;
    private LinearLayout llMenu;

    @Override
    protected void onCreate(Bundle savedInstanceState) {
        super.onCreate(savedInstanceState);
        setContentView(R.layout.activity_main);
        initControls();
    }

    private void initControls() {
        textMessage = (TextView) findViewById(R.id.textMessage);
        textHelp = (TextView) findViewById(R.id.textHelp);
        textHelp.setOnClickListener(this);
        imgSettings = (ImageView) findViewById(R.id.imgSettings);
        imgSettings.setOnClickListener(this);
        imgMenu = (ImageView) findViewById(R.id.imgMenu);
        imgMenu.setOnClickListener(this);
        rlOverlay = (RelativeLayout) findViewById(R.id.rlOverlay);
        llSettings = (LinearLayout) findViewById(R.id.llSettings);
        llMenu = (LinearLayout) findViewById(R.id.llMenu);
    }

    @Override
    public void onClick(View view) {
        switch (view.getId()) {
            case R.id.imgSettings:
                Toast.makeText(this, "Settings icon clicked", Toast.LENGTH_LONG).show();
                break;
            case R.id.imgMenu:
                Toast.makeText(this, "Menu icon clicked", Toast.LENGTH_LONG).show();
                break;
            case R.id.textHelp:
                if (textHelp.getText().toString().equals("Next")) {
                    llSettings.setVisibility(View.GONE);
                    llMenu.setVisibility(View.VISIBLE);
                    textHelp.setText("Got It");
                } else {
                    rlOverlay.setVisibility(View.GONE);
                    textMessage.setVisibility(View.VISIBLE);
                }
                break;
            default:
                break;
        }
    }
}
And done!
Now when you’ll launch the app for the first time, you’ll see the output like this.

FAQs
What is an Android overlay function?
Also known as Draw on top, Android screen overlay enables you to display content over other apps.
Which Android apps use a screen overlay feature?
The screen overlay function is been used by a few leading apps, including Facebook Messenger, Twilight, and Lastpass.
Is there any way I can turn off the screen overlay function for an app?
Yes, you can turn off the screen overlay function by switching off display over other apps option from settings. Here are the general steps to turn off screen overlay on Android devices:
- Open “Settings”.
- Go to “Apps” or “Application Manager”.
- Select the app.
- Tap “App info” or “Permissions”.
- Find “Draw over other apps” or “Display Over Other Apps”.
- Turn off the switch for the app.
- Confirm if prompted.
Conclusion
Though it’s just a part of mobile app design, there is a lot more to learn. And, to create an Android app from scratch with attractive UI, it’s important that you have knowledge and experience to use app design widgets. Moreover, there are many interesting uses of Android overlay permission. But, if you are not a technical person, this job can be difficult for you.
Therefore, the best idea is to consult with experts or hire an one of the best Android app development companies that has hands-on experience in designing and developing Android apps. In case, if you have any Android app idea in mind that you want to convert into a successful application, you can discuss it with mobile applications development company like us. Just fill the given contact us form and one of our representatives will get back to you as soon as possible.
Grab a free copy of Transparent screen Android Overlay example from Github.