By
By 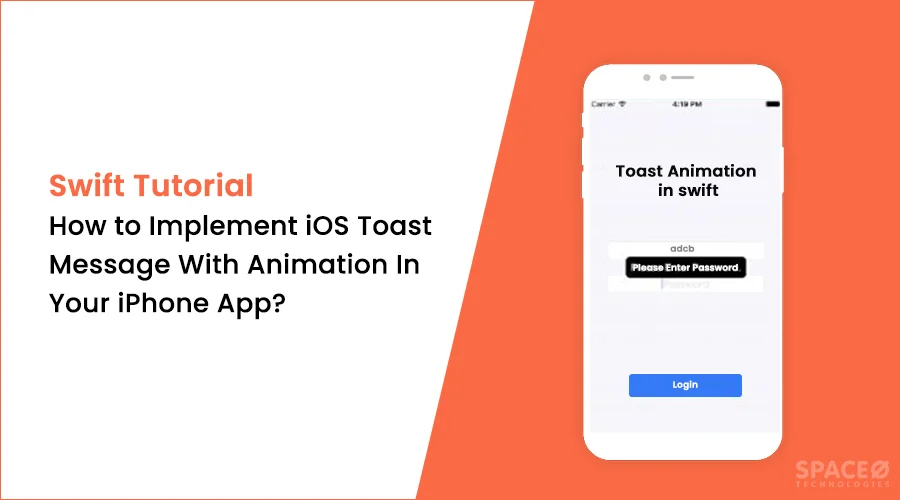
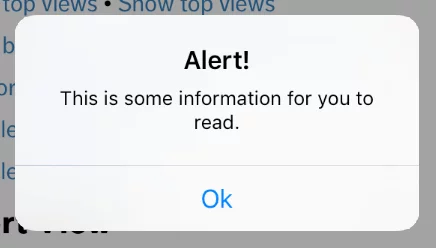
Suppose, you want to show some messages for a few seconds to notify your users upon a particular action, what method will you use? We have noticed many iPhone app developers use UIAlertView to achieve this goal. While UIAlertView is a good option to show some messages/titles, but the problem is, the user will have to close the alert message manually.
Normally, it looks like this:
Now, what if you want to show the same message for some time and after that, the message should hide automatically? The answer is iOS Toast Message used for this purpose.
Table of Contents
What is Toast Message?
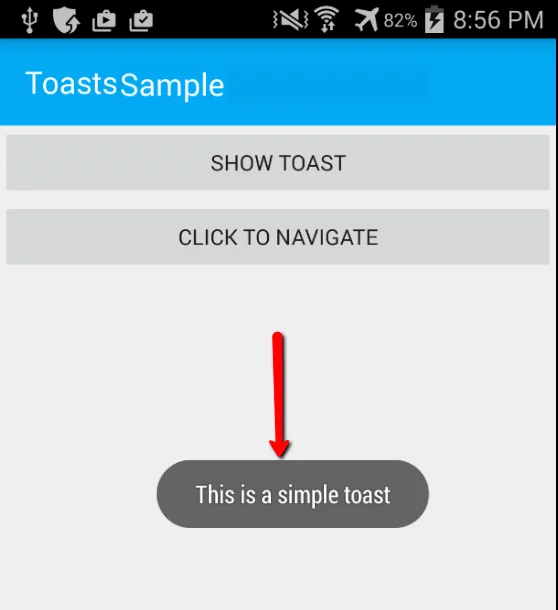
A toast message in iOS is a small, short-lived popup that provides a small bite of information to the users.
It looks something like this:
In this iOS Swift tutorial, we will learn how to implement an iOS toast message in your iPhone app, but we will also show how to add animation to that.
Steps to Implement iOS Toast Message With Animation
In this demo, we will show Toast Alert with Blur animation when the username or password field is left empty and a user presses the Login button.
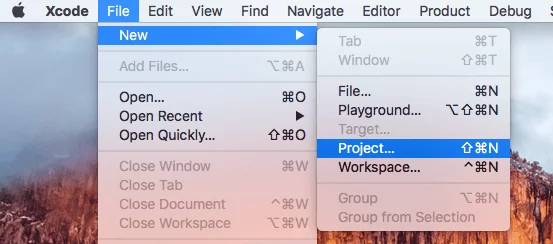
![]() First, go to XCode and create a new project.
First, go to XCode and create a new project.
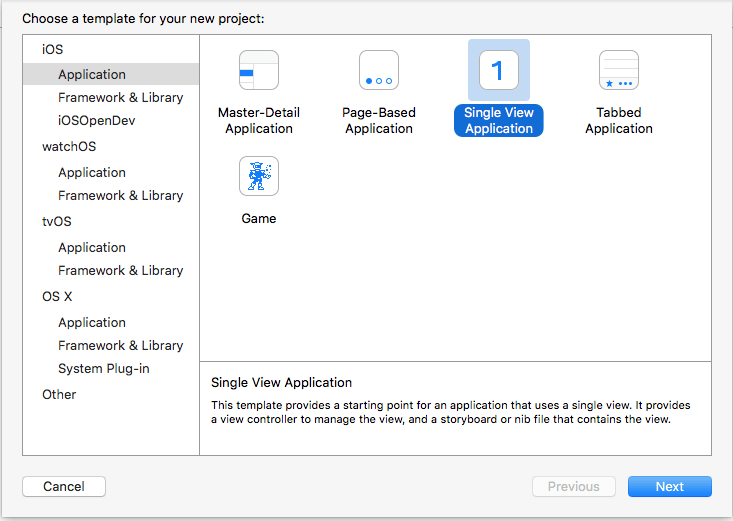
![]() Now, select the project type as a Single View Application and click on next.
Now, select the project type as a Single View Application and click on next.
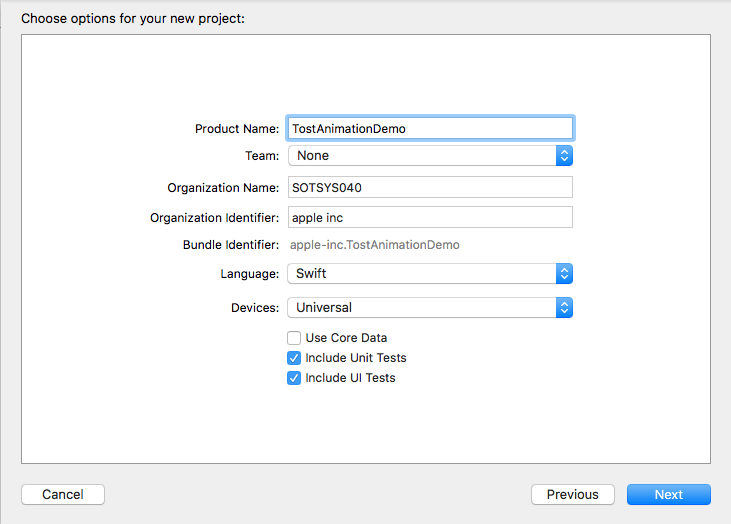
![]() In the next tab, set the project name and move forward.
In the next tab, set the project name and move forward.
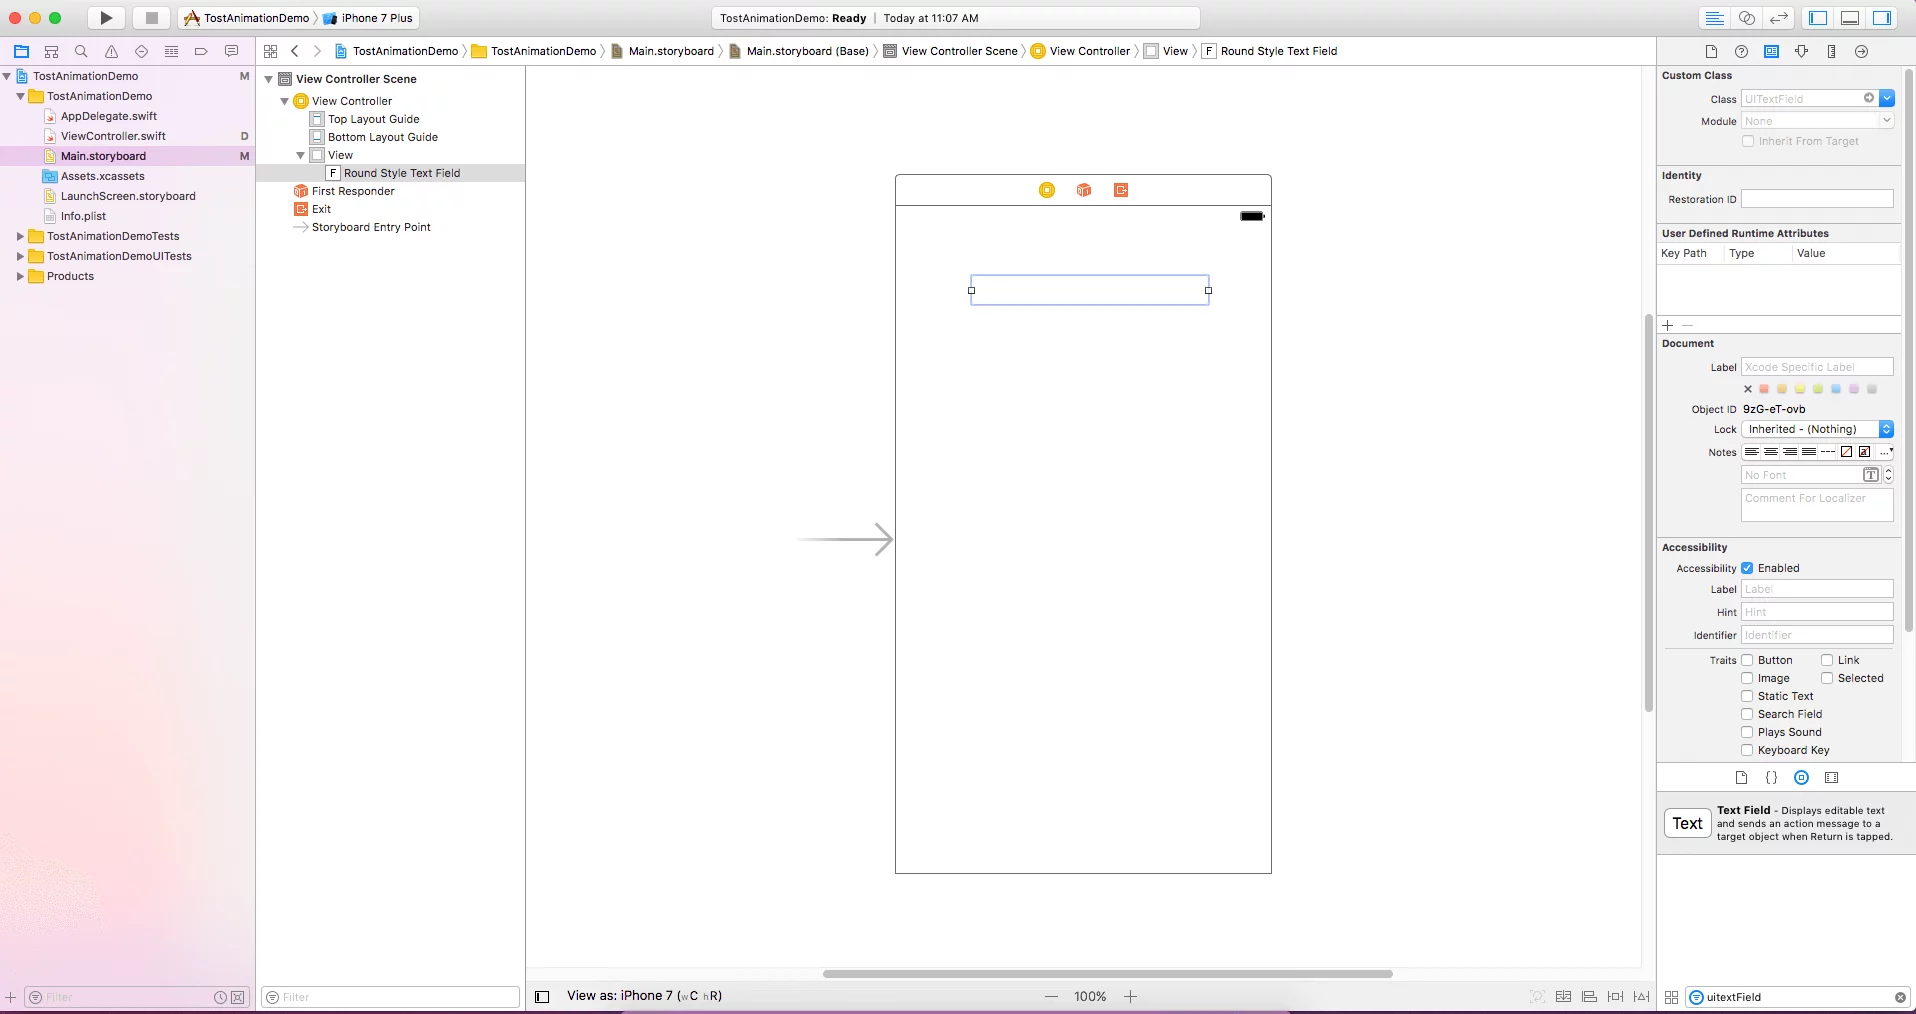
![]() Once you create a new project, go to Main.Storyboard, select ViewController, and drop UITextField from the “Show Object Library” section.
Once you create a new project, go to Main.Storyboard, select ViewController, and drop UITextField from the “Show Object Library” section.
Now, you can repeat this step for the password as well.
![]() Next, again go to Main.Storyboard, select ViewController and drop UIButton from the “Show Object Library” section.
Next, again go to Main.Storyboard, select ViewController and drop UIButton from the “Show Object Library” section.
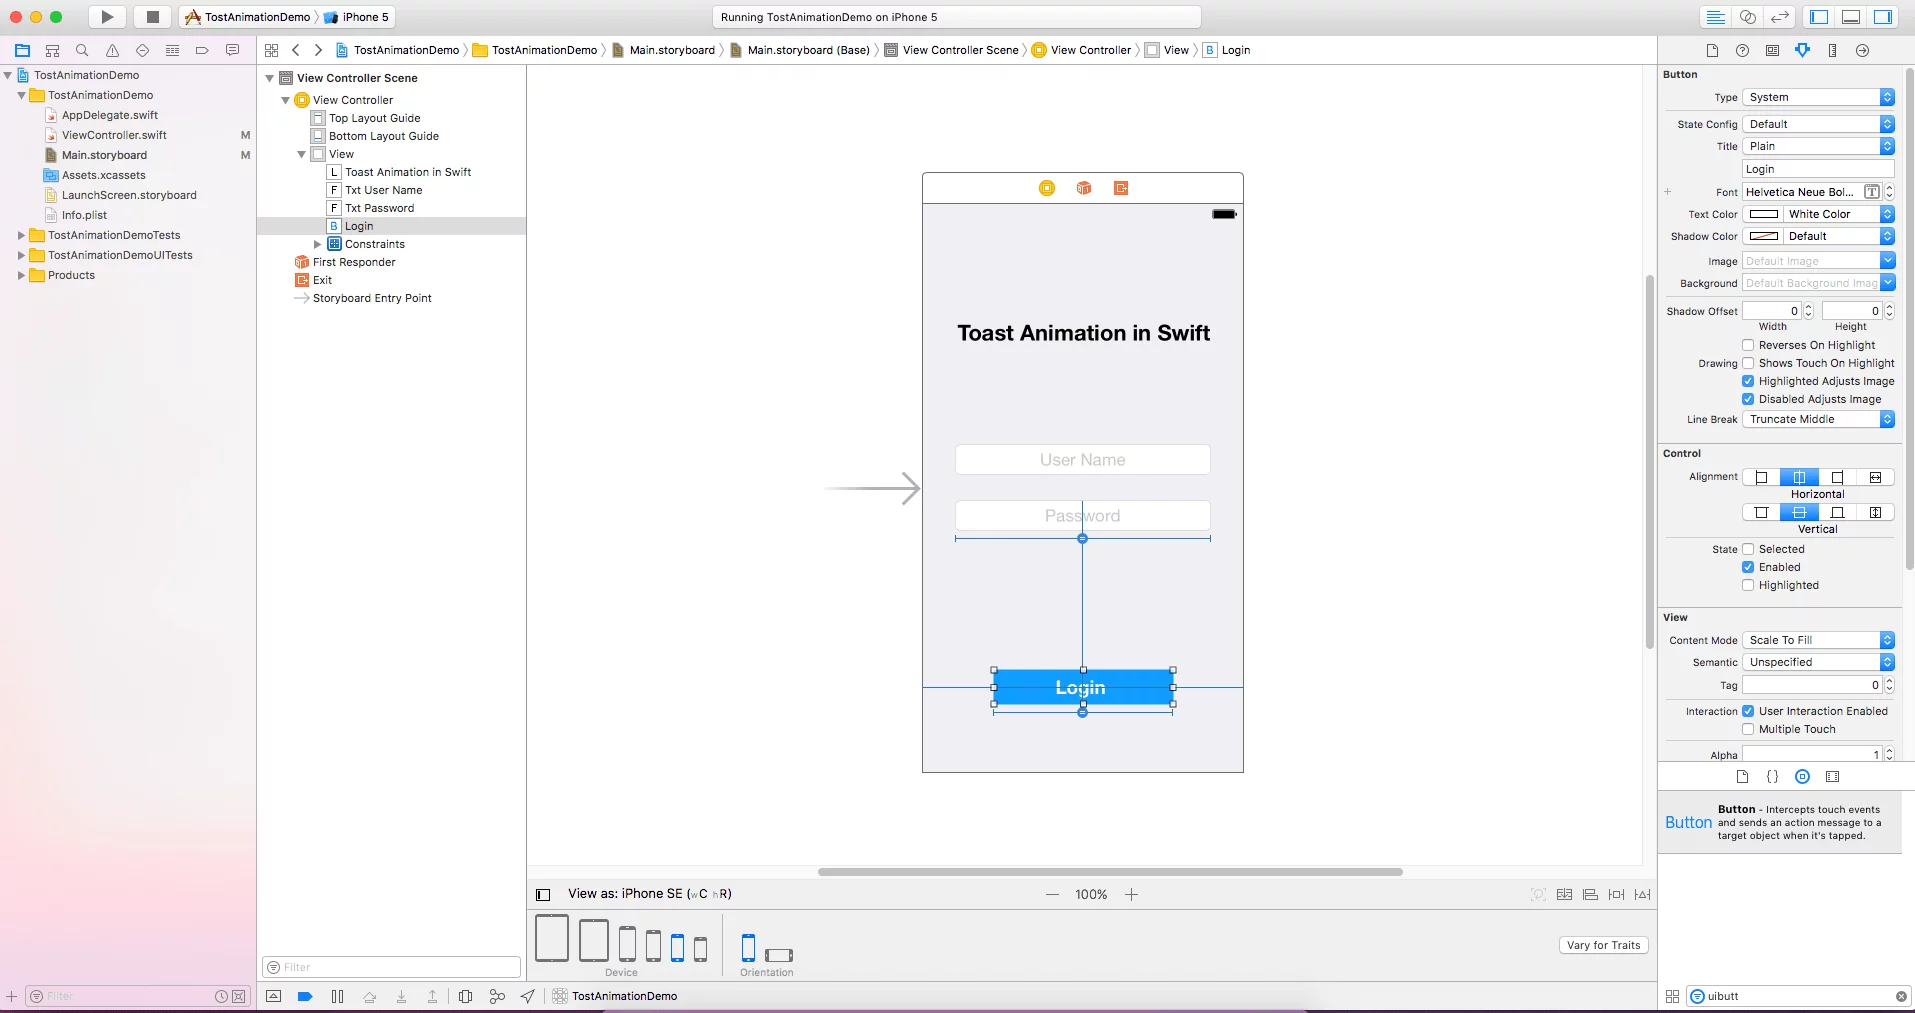
![]() After adding the button, the final UI should look like this:
After adding the button, the final UI should look like this:
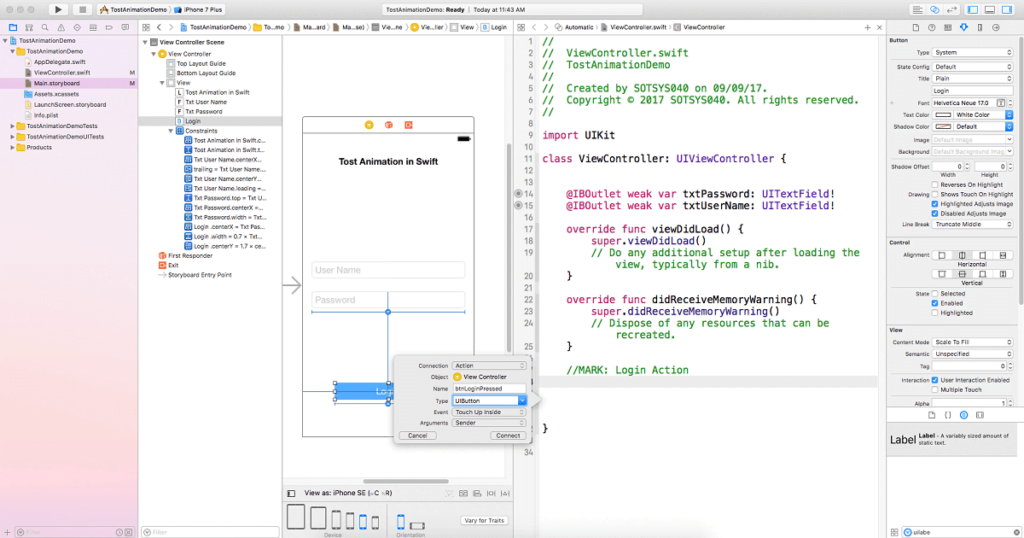
![]() Once you have the UI ready similar to the image above, it’s time to create an Event for the login button.
Once you have the UI ready similar to the image above, it’s time to create an Event for the login button.
![]() Now, once you create the event, it’s time to implement the animation on toast.
Now, once you create the event, it’s time to implement the animation on toast.
import UIKit

// MARK: Add Toast method function in UIView Extension so can use in whole project.
extension UIView {
    func showToast(toastMessage: String, duration: CGFloat) {
    // View to blur bg and stopping user interaction
    let bgView = UIView(frame: self.frame)
    bgView.backgroundColor = UIColor(red: CGFloat(255.0/255.0), green: CGFloat(255.0/255.0), blue: CGFloat(255.0/255.0), alpha: CGFloat(0.6))
    bgView.tag = 555

    // Label For showing toast text
    let lblMessage = UILabel()
    lblMessage.numberOfLines = 0
    lblMessage.lineBreakMode = .byWordWrapping
    lblMessage.textColor = .white
    lblMessage.backgroundColor = .black
    lblMessage.textAlignment = .center
    lblMessage.font = UIFont.init(name: "Helvetica Neue", size: 17)
    lblMessage.text = toastMessage

    // calculating toast label frame as per message content
    let maxSizeTitle: CGSize = CGSize(width: self.bounds.size.width-16, height: self.bounds.size.height)
    var expectedSizeTitle: CGSize = lblMessage.sizeThatFits(maxSizeTitle)
    // UILabel can return a size larger than the max size when the number of lines is 1
    expectedSizeTitle = CGSize(width: maxSizeTitle.width.getMinimum(value2: expectedSizeTitle.width), height: maxSizeTitle.height.getMinimum(value2: expectedSizeTitle.height))
    lblMessage.frame = CGRect(x:((self.bounds.size.width)/2) - ((expectedSizeTitle.width+16)/2), y: (self.bounds.size.height/2) - ((expectedSizeTitle.height+16)/2), width: expectedSizeTitle.width+16, height: expectedSizeTitle.height+16)
    lblMessage.layer.cornerRadiusM = 8
    lblMessage.layer.masksToBoundsM = true
    lblMessage.paddingM = UIEdgeInsets(top: 4, left: 4, bottom: 4, right: 4)
    bgView.addSubviewM(lblMessage)
    self.addSubviewM(bgView)
    lblMessage.alphaM = 0

    UIView.animateKeyframes(withDuration: TimeInterval(duration), delay: 0, options: [], animations: {
        lblMessage.alpha = 1
    }, completion: { success in
        UIView.animate(withDuration: TimeInterval(duration), delay: 8, options: [], animations: {
        lblMessage.alpha = 0
        bgView.alpha = 0
        })
        bgView.removeFromSuperview()
    })
}
}

extension CGFloat {
    func getMinimum(value2: CGFloat) -> CGFloat {
    if self < value2 {
        return self
    } else
    {
        return value2
        }
    }
}

        // MARK: Extension on UILabel for adding insets - for adding padding in top, bottom, right, left.

        extension UILabel {
        private struct AssociatedKeys {
            static var padding = UIEdgeInsets()
        }

        var padding: UIEdgeInsets? {
            get {
            return objc_getAssociatedObject(self, &AssociatedKeys.padding) as? UIEdgeInsets
            }
            set {
            if let newValue = newValue {
                objc_setAssociatedObject(self, &AssociatedKeys.padding, newValue as UIEdgeInsets!, objc_AssociationPolicy.OBJC_ASSOCIATION_RETAIN_NONATOMIC)
            }
            }
        }

        override open func draw(_ rect: CGRect) {
            if let insets = padding {
            self.drawText(in: UIEdgeInsetsInsetRect(rect, insets))
            } else {
            self.drawText(in: rect)
            }
        }

        override open var intrinsicContentSize: CGSize {
            get {
            var contentSize = super.intrinsicContentSize
            if let insets = padding {
                contentSize.height += insets.top + insets.bottom
                contentSize.width += insets.left + insets.right
            }
            return contentSize
            }
        }
    }
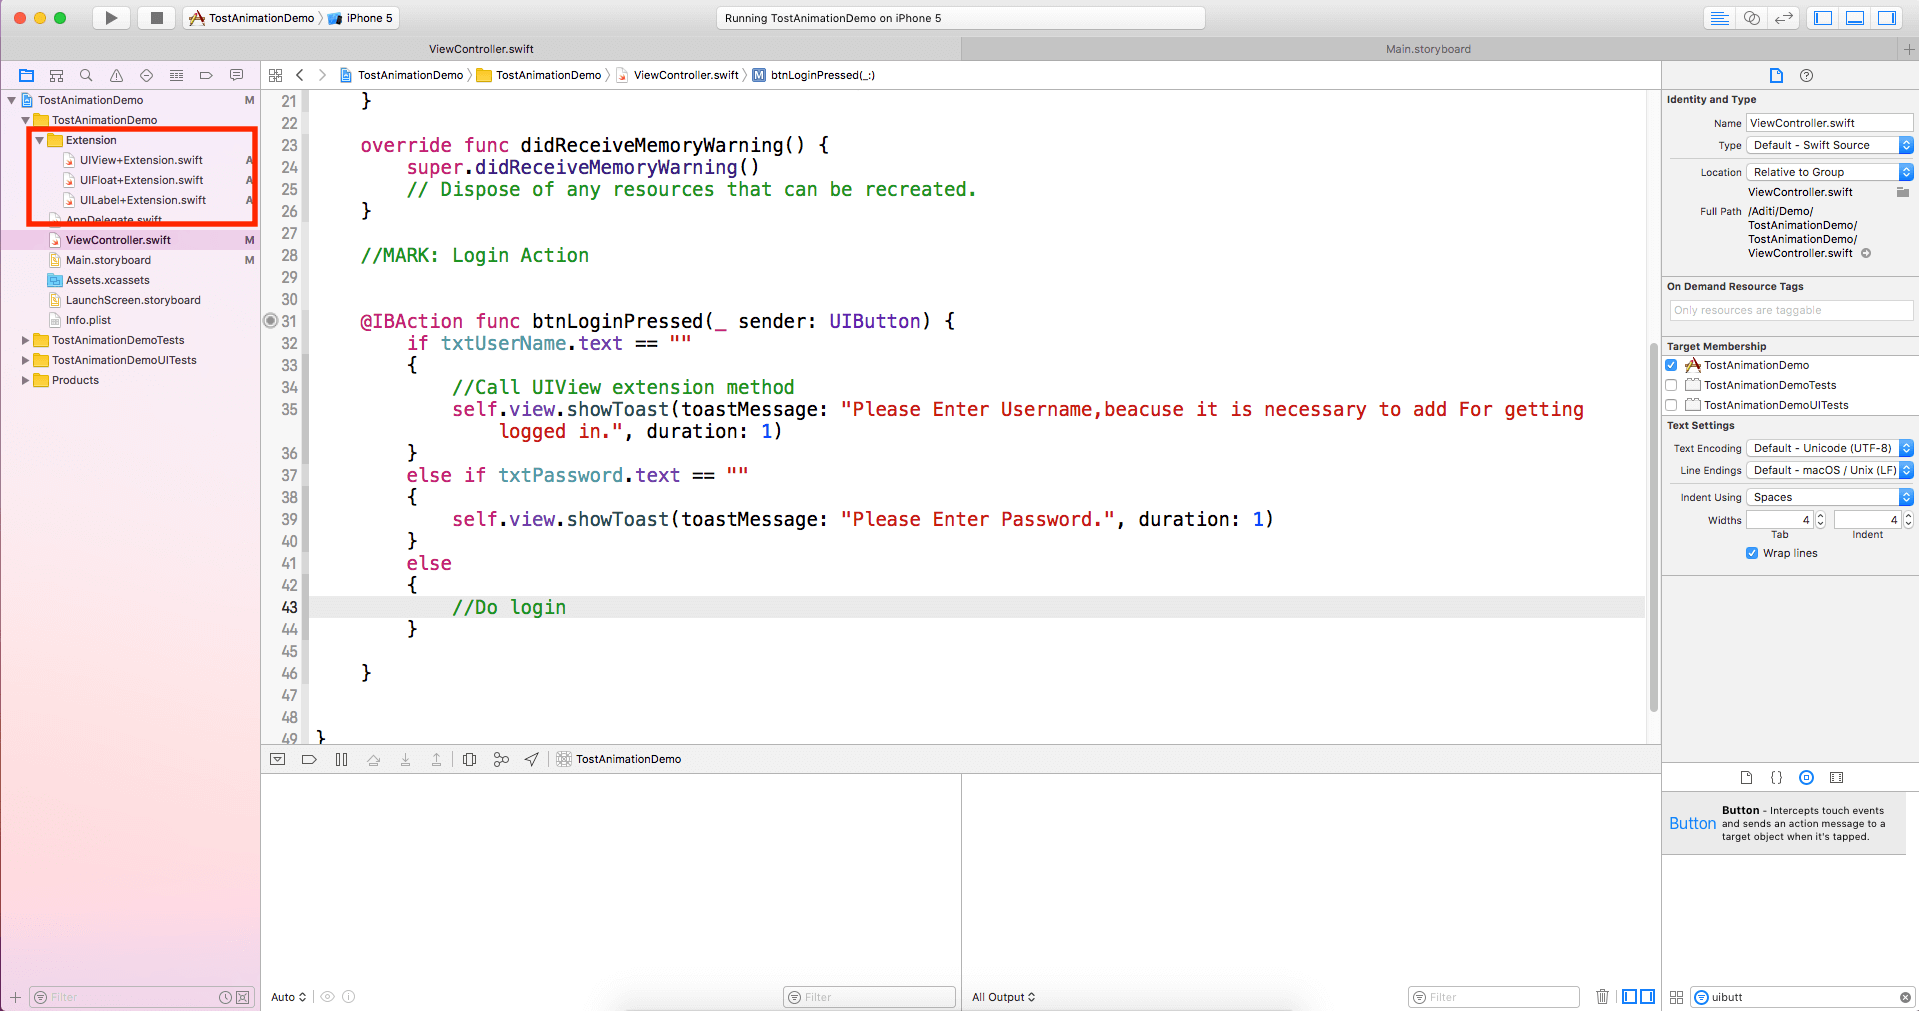
![]() On the login button touch, call the extension method which we created earlier
On the login button touch, call the extension method which we created earlier
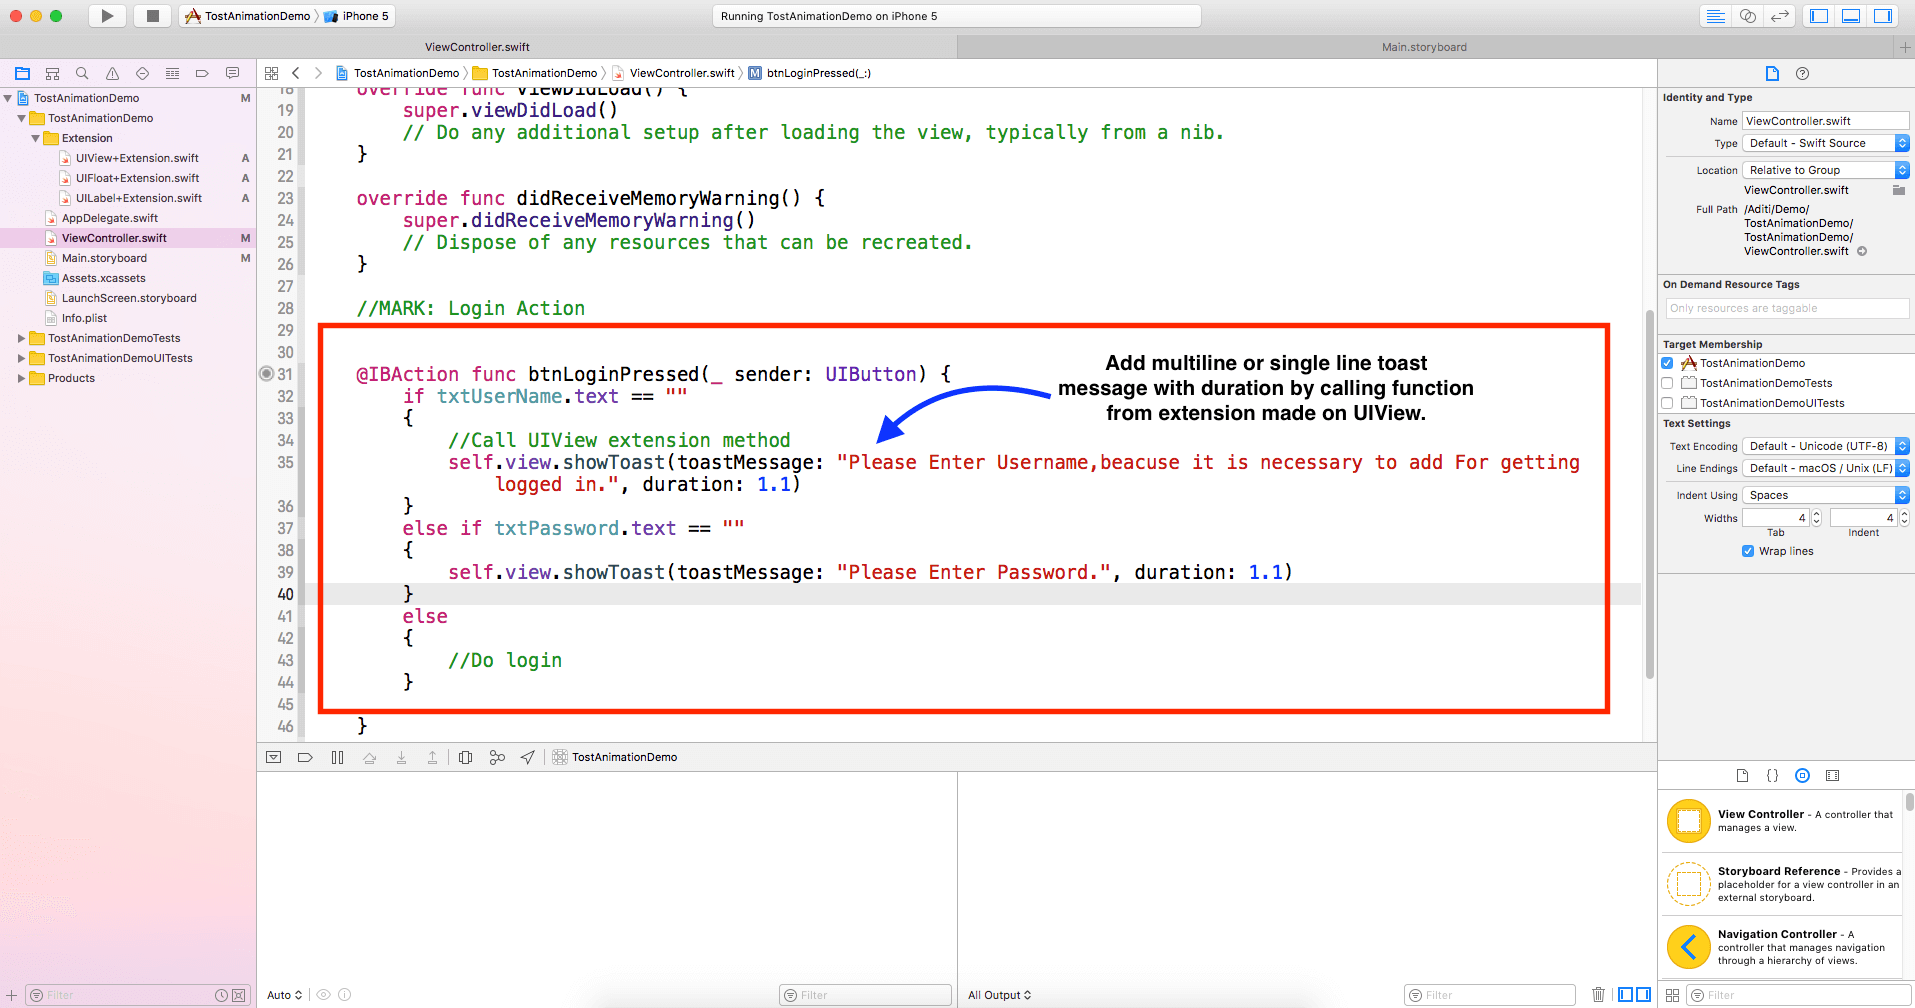
@IBOutlet weak var txtPassword: UITextField!
@IBOutlet weak var txtUserName: UITextField!

// MARK: Login Action

@IBAction func btnLoginPressed(_ sender: UIButton) {
  if txtUserName.text == "" {
    // Call UIView extension method
    self.view.showToast(toastMessage: "Please Enter Username,beacuse it is necessary to add For getting logged in.", duration: 1.1)
  } else if txtPassword.text == "" {
    self.view.showToast(toastMessage: "Please Enter Password.", duration: 1.1)
  } else {
    // Do login
  }
}
And Done!
Frequently Asked Questions
Where can I use toast messages in iOS?
There are several use-cases of toast messages. You can use them for displaying the consequences of actions triggered by your users. For instance, you can notify a user upon successful sign-in by displaying a welcome toast message on iOS.
What’s the difference between the iPhone app toast message and Snackbar?
While a Snackbar is similar to a swift toast message, the only difference being that it’s more versatile and interactive. For instance, it allows users to undo any action with just a single tap. A Snackbar is generally used to communicate feedback on user actions.
Can I display a toast message in Android?
Yes, you can display a toast message similar to the one showed here in an Android by following our tutorial on displaying custom toast messages in your app using Android.
Conclusion
Now that you know how to display a toast message with animation in an iPhone app, you can play around with different animations. For instance, you can make an animation to ease out or ease in, run it in reverse, or set it to repeat. Once you feel ready to continue your journey towards the next stage of iPhone app development, start learning other components.
Meanwhile, if you’ve got an idea for iPhone app development and would like to discuss it with us, drop us a line with your app requirements. Our business analyst will get back to you within 48 hours.