By
By 
While there are many user interfaces on IPhone app development to create fun things using sliders, buttons, gestures, etc. But, when you write any iPhone app, no matter how innovative it is, implementing the good old-fashioned Swift text field will require at some point. The swift text field allows developer to display text and enable the entry and editing the text in iPhone apps.
Therefore, in our today’s Swift app development tutorial, we’re going to build a simple project to share the implementation process of Swift text field to collect text input in iPhone app.
Let’s Get Started
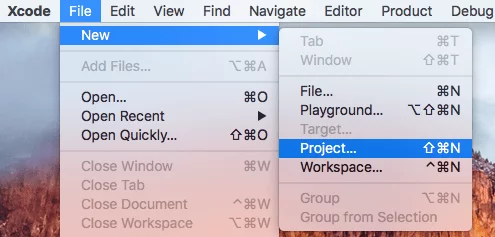
![]() Open XCode and create a new project under file menu.
Open XCode and create a new project under file menu.
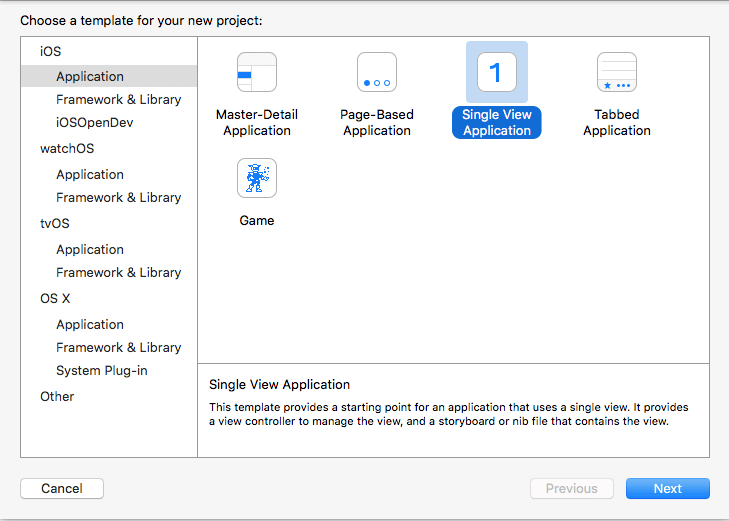
![]() In the next tab, select Single View Application and click on Next.
In the next tab, select Single View Application and click on Next.
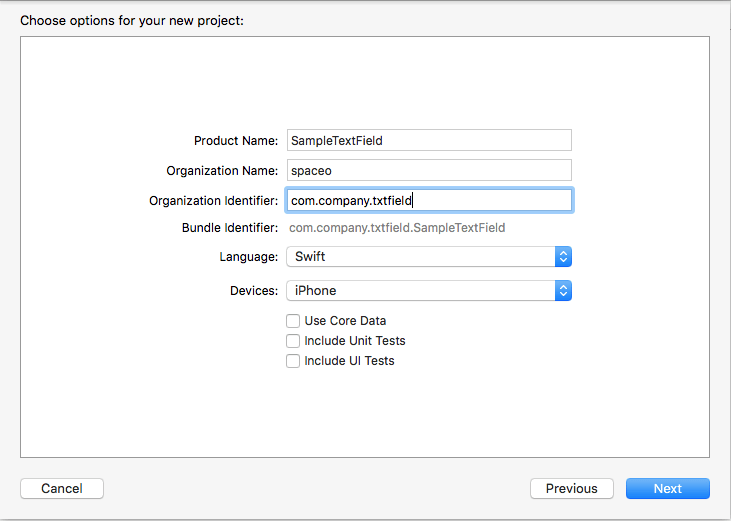
![]() Write the project name and other details.
Write the project name and other details.
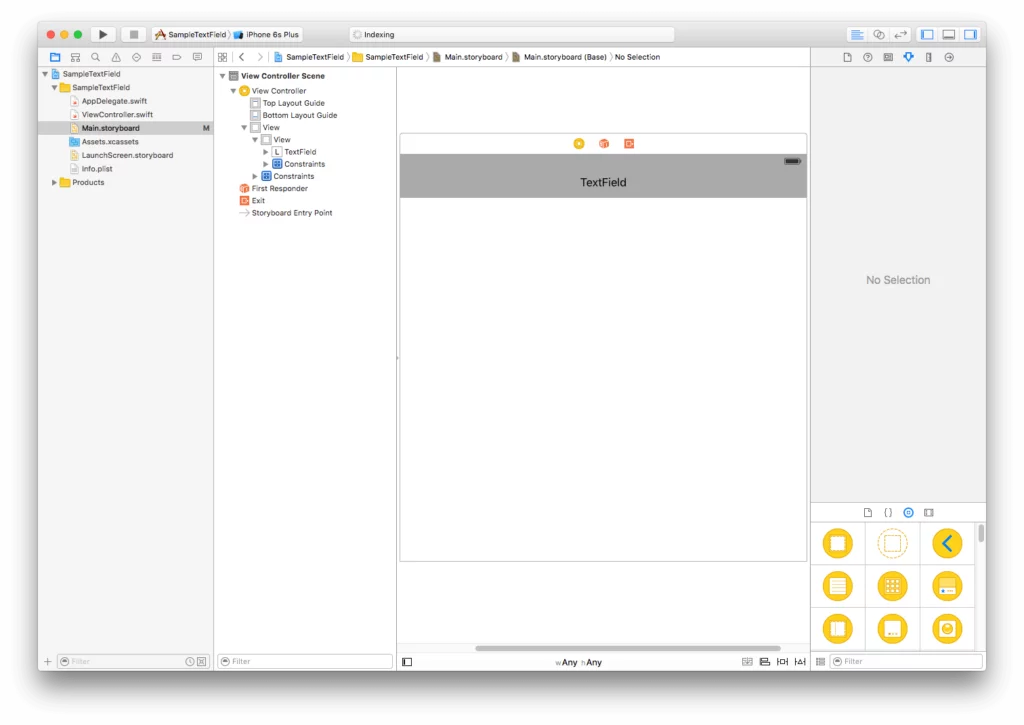
![]() Once you create a new project, go to Main.Storyboard and select ViewController.
Once you create a new project, go to Main.Storyboard and select ViewController.
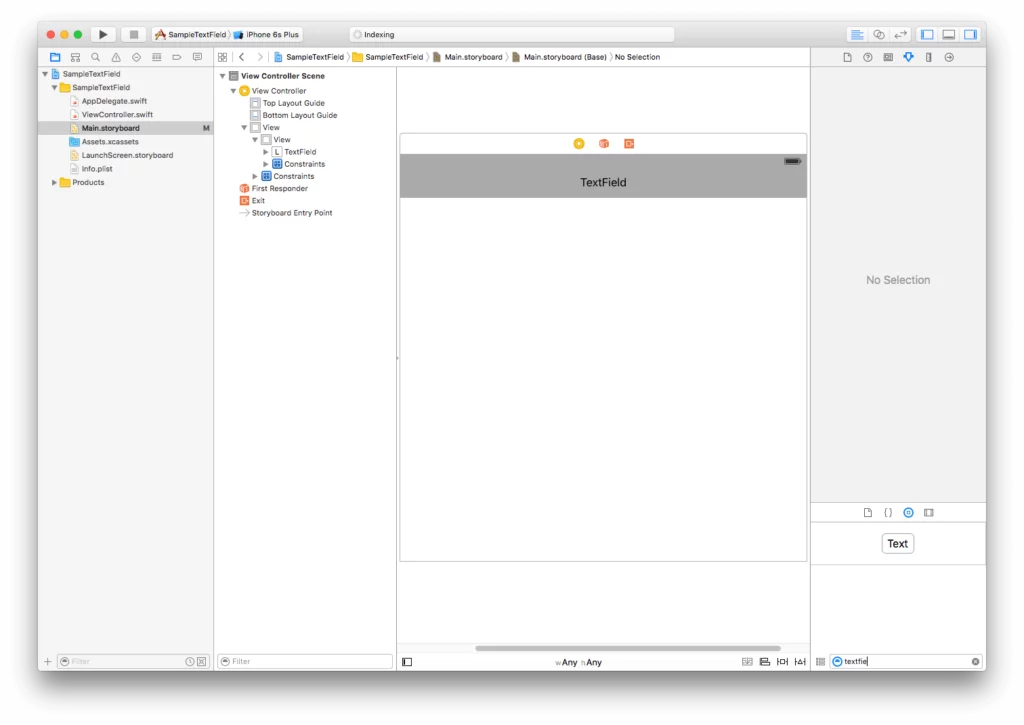
![]() Now drag and drop UITextField from “Show the object library” section.
Now drag and drop UITextField from “Show the object library” section.

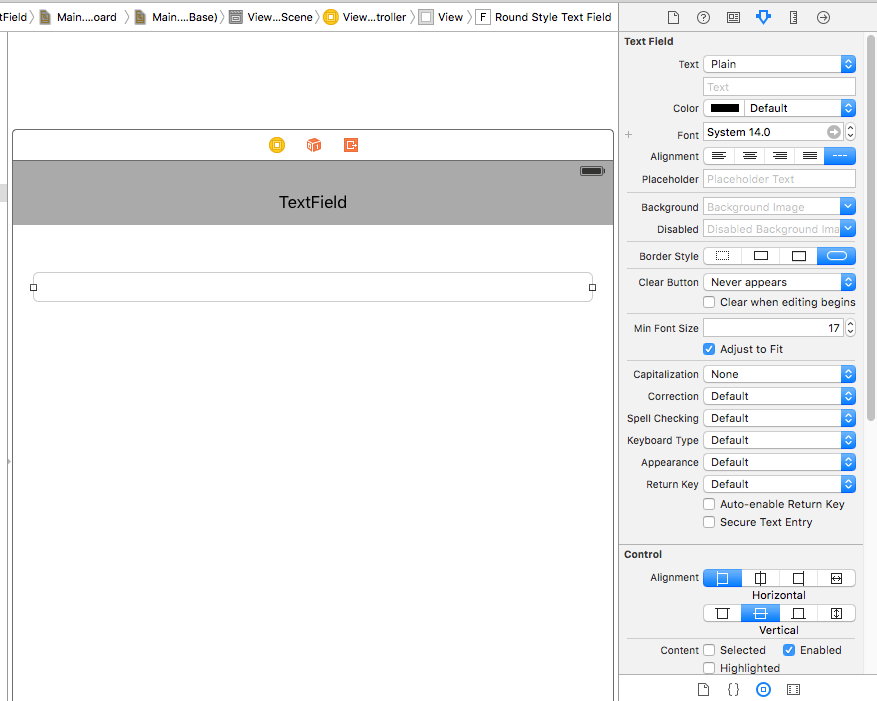
![]() Now select UITextField and see the attribute inspector which have properties for textfield. We can manage Text type, placeholder, color, font, border style, Keyboard type, return key, Security text for password field etc.
Now select UITextField and see the attribute inspector which have properties for textfield. We can manage Text type, placeholder, color, font, border style, Keyboard type, return key, Security text for password field etc.
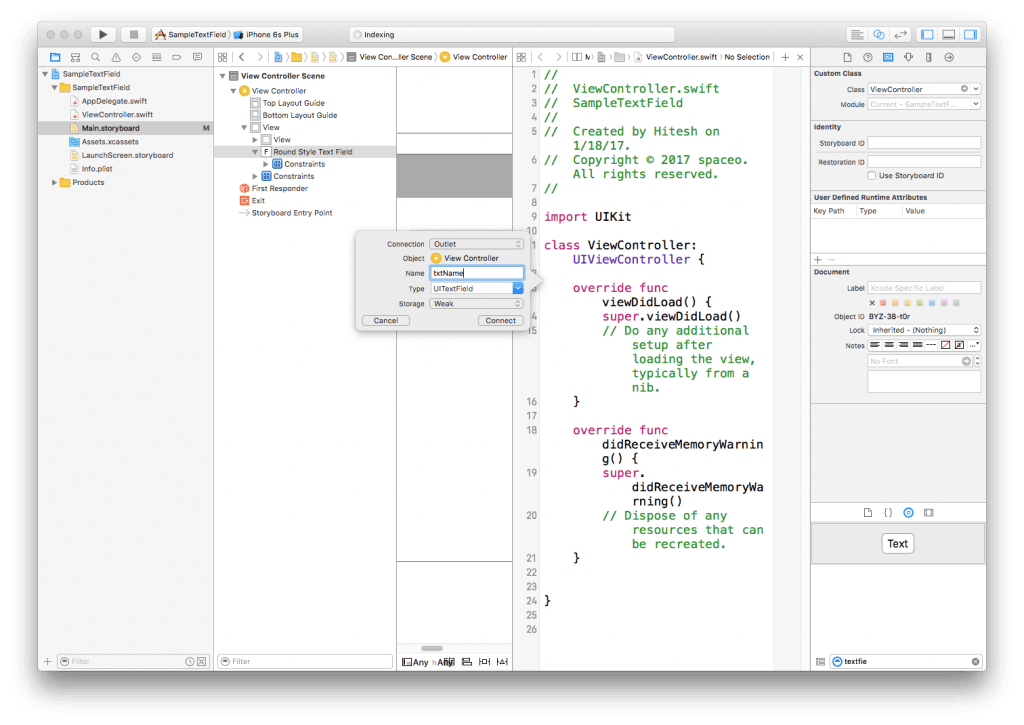
![]() Now, set outlet UITextField in ViewController.
Now, set outlet UITextField in ViewController.
@IBOutlet weak var txtName: UITextField!
![]() Set delegate of UITextField.
Set delegate of UITextField.
class ViewController: UIViewController, UITextFieldDelegate
Declare Textfield delegate.
//MARK: Textfield Delegate
// When user press the return key in keyboard
func textFieldShouldReturn(textField: UITextField) -> Bool {
    print("textFieldShouldReturn")
    textField.resignFirstResponder()
    return true
}

// It is called before text field become active
func textFieldShouldBeginEditing(textField: UITextField) -> Bool {
    textField.backgroundColor = UIColor.lightGray
    return true
}

// It is called when text field activated
func textFieldDidBeginEditing(textField: UITextField) {
    print("textFieldDidBeginEditing")
}

// It is called when text field going to inactive
func textFieldShouldEndEditing(textField: UITextField) -> Bool {
    textField.backgroundColor = UIColor.white
    return true
}

// It is called when text field is inactive
func textFieldDidEndEditing(textField: UITextField) {
    print("textFieldDidEndEditing")
}

// It is called each time user type a character by keyboard
func textField(_ textField: UITextField, shouldChangeCharactersIn range: NSRange, replacementString string: String) -> Bool {
    print(string)
    return true
}
And done!
With this basic understanding of Swift text field, you’ll be able to easily add different text fields for your iPhone app development project. And, in case you’ve any questions regarding this iOS app tutorial, shoot them right away! Our team of swift experts will be happy to help.
Grab a free copy of Swift UITextfield tutorial from Github.