By
By 
In this iOS app tutorial, we will learn how to use Swift Delegate Protocols in order to show data from one view controller to another while developing an iOS app.
This Swift delegate protocol tutorial for iOS is useful to those entrepreneurs who are looking to build an iOS app for their own startup.
We have two different methods to pass data from one view controller to another,
- Add target action on the button using custom target action
- Using Protocols and Delegates

You can choose one of the methods, but we will suggest using the protocols and delegates method as this is one of the easiest and suggestable ways to implement.
Before jumping on to the implementation part, let’s first understand what the Protocol is and what is Delegate in swift.
Table of Contents
What is Protocol in Swift?
According to the Apple Swift Programming Language Guide, a Protocol is a powerful feature available in Swift Programming Language, used to define a “blueprint of methods, properties, and other requirements that suit a particular task or piece of functionality.”
These protocols in swift can be further adopted by a class, structure, or enumeration to provide an actual implementation of such requirements. Any of these types which satisfy the requirements of a protocol is said to conform to that protocol.
In addition to this, you can extend a protocol to implement requirements or additional functionalities, which can be beneficial for conforming types.
Swift keeps checking for protocol conformity issues at compile-time, allowing iOS developers to find some fatal glitches in the code even before running the program.
iOS protocol allows app developers to write resilient and extensible code in Swift language without having to adjust the language’s expressiveness.
What is Delegation in Swift?
It refers to the delegate design pattern that enables a class or structure to hand off some of its responsibilities to an instance of another type. This enables the delegate to customize the base class.
Delegation is frequently used in practical iOS development. The iOS delegate pattern has a significant impact on the platforms of Apple.
A delegation pattern allows one delegating object to send messages to another object when a specific event happens.
The delegation design pattern in swift is used for many things such as from handling table view events using UITableViewDelegate, to modifying the cache behavior using NSCacheDelegate.
The core purpose of the delegate design pattern is to allow a delegate object to report back to its owner in a separate way.
Just like the observer pattern, implementation of the delegate pattern can be done in many different ways, with a one-to-many or many-to-many relationship.
A protocol can significantly add benefit to communicate requirements between classes, which reduces coupling between classes.
A delegate class can provide data back to the class that calls the delegate function (i.e., the text view or cookie bakery), which makes it a two-way street.
This swift delegate example is created using Xcode 10.1 & Swift language 4.2.
Want to Get Assistance From iOS Developers?
Looking to hire iOS developers for your project? Contact us today!

How to Pass Data using Swift Delegate Protocol?
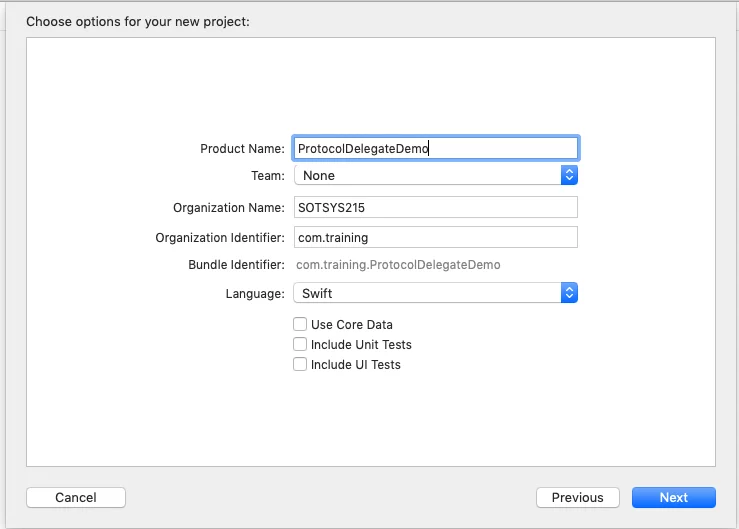
![]() Create a new application with the name “ProtocolDelegateDemo”
Create a new application with the name “ProtocolDelegateDemo”
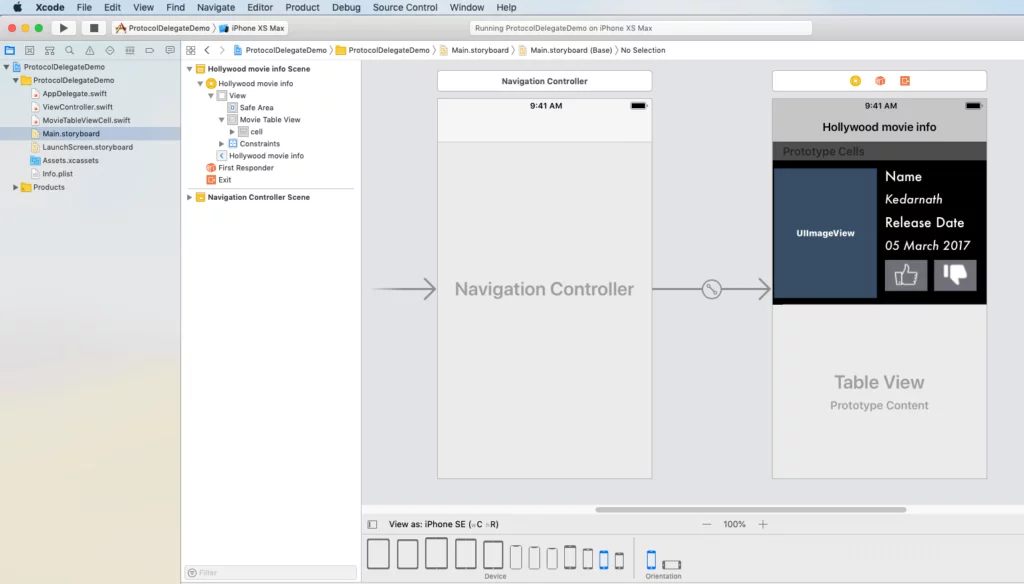
![]() Create a User interface in the main.storyboard like below.
Create a User interface in the main.storyboard like below.
![]() Create a new file called “MovieTableViewCell.swift” and create a protocol
Create a new file called “MovieTableViewCell.swift” and create a protocol
import UIKit

// MARK: Protocol created
protocol MovieTableViewCellProtocol: class {
    func movieLiked(_ sender: MovieTableViewCell, isLiked: Bool)
}
![]() Create an outlet
Create an outlet
//Table view cell components outlet created
class MovieTableViewCell: UITableViewCell {
    @IBOutlet weak var imgPoster: UIImageView!
    @IBOutlet weak var lblName: UILabel!
    @IBOutlet weak var lblReleaseDate: UILabel!
    @IBOutlet weak var btnLike: UIButton!
    @IBOutlet weak var btnUnlike: UIButton!
}
![]() Create a protocol object
Create a protocol object
// delegate variable create for protocol
weak var delegate: MovieTableViewCellProtocol?

override func awakeFromNib() {
    super.awakeFromNib()
}

override funcoverride func setSelected(_ selected: Bool, animated: Bool) {
    super.setSelected(selected, animated: animated)
}
![]() Call protocol delegate method when user tap on like button
Call protocol delegate method when user tap on like button
// MARK: Call protocol method when user click on like button
@IBAction func movieLiked(_ sender: UIButton) {
    delegate?.movieLiked(self, isLiked: true)
}
![]() Call protocol delegate method when user tap on unlike button
Call protocol delegate method when user tap on unlike button
// MARK: Call protocol method when user clicks on unlike button
@IBAction func movieUnliked(_ sender: UIButton) {
    delegate?.movieLiked(self, isLiked: false)
}
![]() Movie information structure create in ViewController.swift
Movie information structure create in ViewController.swift
import UIKit

struct MovieInformation {
    let poster: String
    let name: String
    let releaseDate: String
}
![]() Inherit MovieTableViewCellProtocol protocol
Inherit MovieTableViewCellProtocol protocol
class ViewController: UIViewController, UITableViewDataSource, UITableViewDelegate, MovieTableViewCellProtocol {

    // MARK: tableview outlet created
    @IBOutlet weak var movieTableView: UITableView!

    // array of structure
    var movieInfo: [movieInformation] = []

    // movie details create
    var avengerDetail: movieInformation = movieInformation(poster: "avengers-4", name: "Avengers-4", releaseDate: "3 May 2019")
    var starwarsDetail: movieInformation = movieInformation(poster: "star-wars", name: "Star Wars: Episode IX", releaseDate: "20 December 2019")
    var wonderWomanDetail: movieInformation = movieInformation(poster: "wonder-woman", name: "Wonder Woman 2", releaseDate: "1 November 2019")

    // attributes for attributed string
    let myAttributes = [NSAttributedString.Key.font: UIFont.boldSystemFont(ofSize: 18)]

    override func viewDidLoad() {
        super.viewDidLoad()

        // movie details added into the array of structure
        movieInfo.append(avengerDetail)
        movieInfo.append(starwarsDetail)
        movieInfo.append(wonderWomanDetail)

        // tableview datasource and delegate method configure
        movieTableView.delegate = self
        movieTableView.dataSource = self

        movieTableView.allowsSelection = false
    }
}
![]() Configure tableview datasource methods
Configure tableview datasource methods
func tableView(_ tableView: UITableView, numberOfRowsInSection section: Int) -<
Int {
    return movieInfo.count
}

func tableView(_ tableView: UITableView, cellForRowAt indexPath: IndexPath) -< UITableViewCell {
    let cell = tableView.dequeueReusableCell(withIdentifier: "cell", for: indexPath) as! MovieTableViewCell

    cell.imgPoster.image = UIImage(named: movieInfo[indexPath.row].poster)
    cell.lblName.text = movieInfo[indexPath.row].name
    cell.lblReleaseDate.text = movieInfo[indexPath.row].releaseDate

    cell.delegate = self
    return cell
}
![]() Create a protocol delegate method
Create a protocol delegate method
// MARK: check movie is like or unliked
func movieLiked(_ sender: MovieTableViewCell, isLiked: Bool) {
    // fetch tapped indexpath
    guard let tappedIndexPath = movieTableView.indexPath(for: sender) else {
        return
    }

    // MARK: alert values set and call
    let alertTitle = NSMutableAttributedString(string: isLiked ? "Like" : "Unlike")

    let strLike = NSMutableAttributedString(string: isLiked ? "You liked " : "You disliked ")
    let strMovieName = NSMutableAttributedString(string: movieInfo[tappedIndexPath.row].poster, attributes: myAttributes)

    let strMovie = NSMutableAttributedString(string: " movie")

    strLike.append(strMovieName)
    strLike.append(strMovie)

    let alertMsg = strLike

    // MARK: selected cell fetch
    let cell = movieTableView.cellForRow(at: tappedIndexPath) as! MovieTableViewCell

    // MARK: set button image based on liked or unliked
    if isLiked {
        cell.btnLike.setImage(UIImage(named: "icon_liked"), for: .normal)
        cell.btnUnlike.setImage(UIImage(named: "icon_dislike"), for: .normal)
    } else {
        cell.btnUnlike.setImage(UIImage(named: "icon_disliked"), for: .normal)
        cell.btnLike.setImage(UIImage(named: "icon_like"), for: .normal)
    }

    displayAlert(title: alertTitle, msg: alertMsg)
}
![]() Configure alert view controller
Configure alert view controller
// MARK: setup alert controller
func displayAlert(title: NSMutableAttributedString, msg:
NSMutableAttributedString) {
    let alert = UIAlertController(title: "", message: "", preferredStyle: .alert)
    //alert.setValue(title, forKey: "attributedTitle")
    alert.setValue(msg, forKey: "attributedMessage")

    let action = UIAlertAction(title: "OK", style: .default, handler: nil)

    alert.addAction(action)

    present(alert, animated: true, completion: nil)
}
And, done.
Using Swift Delegate Protocol
Do You Have Any iOS App Idea That You Want to Develop?
Need to validate your app idea or consult with an expert? Get a free consultation now!
Frequently Asked Questions
How will you explain the difference between delegate and protocol in Swift?
Protocol: A set of methods that would be implemented by the class which conforms to that protocol
Delegate: The reference to that class which conforms to the protocol and will adhere to implement methods defined in the protocol
When should I use delegates in Swift?
You use delegates in Swift when you need a 1-to-1 notification mechanism or when your component relies on delegation, like UITableViews and UICollectionViews.
It becomes difficult for a NetworkManager with a single delegate property. However, in such situations, singletons with callback usually require other methods like completion blocks or notifications.
At first, you determine the way you are going to use it, and accordingly, for components with simple 1-to-1 interactions, delegation should suffice.
What is the protocol in Objective-C?
An Objective-C defines a protocol, which helps to declare methods that you can use in any particular situation.
It can be also defined as an object that has been assigned to the delegate property of another object.
How can I implement delegates in Objective-C?
Here are the simple steps that you can follow to implement delegates in Objective-C.
- Create a protocol
- Create a delegate property in the class that performs the assigned task
- Once the task is complete, it can be used to return the result
- Implement the protocol
Conclusion
In the above swift protocol example, we learned how to show data in a view controller using swift delegation and swift protocols. Though there are various ways to display data in view controller using protocol-oriented programming in swift given as,
- when a segue is performed
- using singletons
- using the app delegate
- assigning a delegate to a view controller
- referencing a view controller directly
- using the user defaults
- with Swift closures
but the one we have used is the best & convenient to implement.
This swift delegate protocol tutorial is useful for those who are looking to develop an iPhone app using such features to pass or fetch data. Download the source code of this swift protocol tutorial via Github.
In case, if you find difficulty in code implementation, feel free to hire iPhone and Swift app developers from Space-O. The consultation is free of cost.